Tamiya 1/48th P-51D - Bad Angel - Pima Air Museum

Ad: This forum contains affiliate links to products on Amazon and eBay. More information in Terms and rules

hawkeye2an

Staff Sergeant
1,248
408
Mar 18, 2009
St Joseph, Missouri
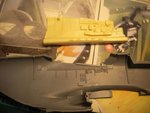
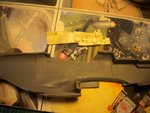
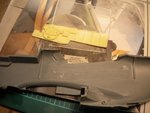
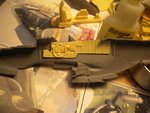
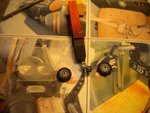
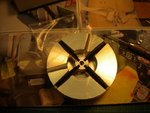
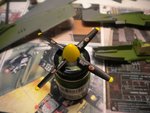
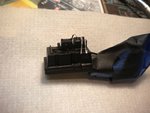
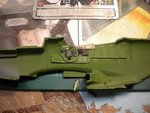
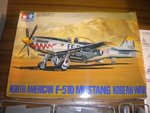
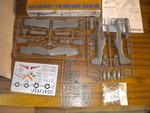
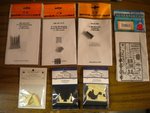
My next build will be one for my dad. I am going to attempt to build a diorama of the Pima Air Museum's P-51D Bad Angel. He spent a good part of the last five years working on this restoration and I thought he would enjoy a momento of the plane.
 

Attachments

  • P-51DBadAngel.jpg
    P-51DBadAngel.jpg
    165.1 KB · Views: 284
  • P-51D1.jpg
    P-51D1.jpg
    89.4 KB · Views: 268
  • P-51D2.jpg
    P-51D2.jpg
    90.7 KB · Views: 279
  • P-51D3.jpg
    P-51D3.jpg
    81.6 KB · Views: 261
This will be my first attempt at a "modern" kit. I've only worked with photo-etched a few times so those bits might or might not go on the model. I really want this one to be as close to the museum piece as possible, including opening up the port gunbay.
 
This will be my first attempt at a "modern" kit. I've only worked with photo-etched a few times so those bits might or might not go on the model. I really want this one to be as close to the museum piece as possible, including opening up the port gunbay.

If this is your first "modern" kit Andy, you're going to be amazed! The parts are so well engineered that when I bought it I started test fitting parts together and soon had the entire basic airframe together, fitting tight and holding together without tape or anything, and the seams were so good it almost looked like it was ready for paint!!!

I haven't gotten around to building mine yet so I'll be looking forward to seeing yours!
 
ALL RIGHT I LOVE THE MODERN KITS. I will still build the scratchbuilds and modified old kits, but this model is a real work of art. I have just moved a few of the new kits up on the build list (like the Beaufighter nightfighter).

First set of pics show removing the interior to place the resin parts.

Dremel tool used to carefully etch out the interior details, the Tamiya kit was a little lacking on the side wall details. Cockpit itself is fairly accurate though.
 

Attachments

  • P-51D4.jpg
    P-51D4.jpg
    69 KB · Views: 282
  • P-51D5.jpg
    P-51D5.jpg
    78.2 KB · Views: 250
  • P-51D6.jpg
    P-51D6.jpg
    76.9 KB · Views: 290
  • P-51D7.jpg
    P-51D7.jpg
    70.6 KB · Views: 239
  • P-51D8.jpg
    P-51D8.jpg
    76.7 KB · Views: 253
Ah, the dreaded wheel painting ! I used to dislike that part, but over the years have developed a method which I'm comfortable with, especially if the wheel rims have good edge definition.
 
Pic 1 - using the Propmaster for the first time

Pic 2 - completed prop assembly

Pic 3 - working on the battery/radio wiring
 

Attachments

  • P-51D10.jpg
    P-51D10.jpg
    76 KB · Views: 174
  • P-51D11.jpg
    P-51D11.jpg
    74.5 KB · Views: 189
  • P-51D12.jpg
    P-51D12.jpg
    67.8 KB · Views: 166
Pic 1 - Modified seat, removed the pad from the back as the museum aircraft doesn't have it.

Pic 2 - interior work

Pic 3 - completed seat. Back pad removed, seat pad added.
 

Attachments

  • P-51D13.jpg
    P-51D13.jpg
    52.3 KB · Views: 168
  • P-51D14.jpg
    P-51D14.jpg
    79.4 KB · Views: 194
  • P-51D15.jpg
    P-51D15.jpg
    85.6 KB · Views: 183

Users who are viewing this thread

Back