- Thread starter
- #41
N4521U
Colonel
Raining today perfect for the wife and me to stay in working on our own projects.
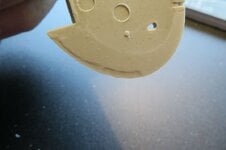
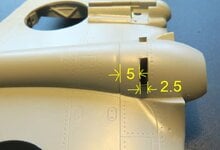
First photo is scaled to 1/32nd from a blueprint, in mm. Turned out okay methinks.
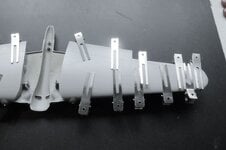
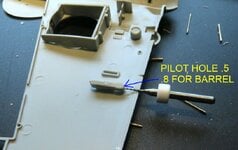
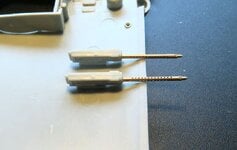
Second, I cut off barrels from kit guns and left a stub, filed that down smooth,
then made a dimple with a sharp point for center. After gun was glued in I drilled
a 0.5mm pilot hole using the opening of the wing as a guide. Then an 0.8mm for
the Brass barrel. I will CA them in after wing paint goes on.
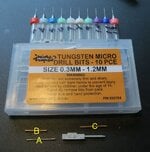
I have a set of these Icky Sticky carbide drills
as the are in .1mm increments, .3 to 1.2mm.
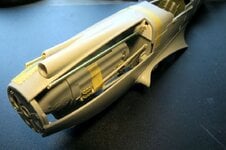
I did have to run the .9mm from both ends
of the outer gun barrel tube, the insert was tight!
First photo is scaled to 1/32nd from a blueprint, in mm. Turned out okay methinks.
Second, I cut off barrels from kit guns and left a stub, filed that down smooth,
then made a dimple with a sharp point for center. After gun was glued in I drilled
a 0.5mm pilot hole using the opening of the wing as a guide. Then an 0.8mm for
the Brass barrel. I will CA them in after wing paint goes on.


I have a set of these Icky Sticky carbide drills
as the are in .1mm increments, .3 to 1.2mm.
I did have to run the .9mm from both ends
of the outer gun barrel tube, the insert was tight!


