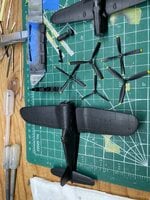
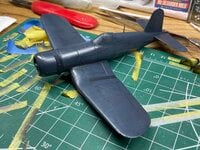
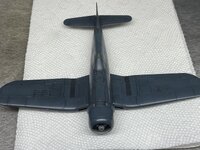
Working on many builds (as i tend to do) but finishing few. This Tamiya Corsair is progressing nicely. Here is the start.
Navigation
Install the app
How to install the app on iOS
Follow along with the video below to see how to install our site as a web app on your home screen.
Note: This feature may not be available in some browsers.
More options
You are using an out of date browser. It may not display this or other websites correctly.
You should upgrade or use an alternative browser.
You should upgrade or use an alternative browser.
Tamiya 1/72 F4U-1D RNZAF
- Thread starter Ruud
- Start date
Ad: This forum contains affiliate links to products on Amazon and eBay. More information in Terms and rules
More options
Who Replied?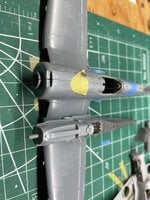
- Thread starter
- #2
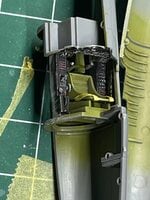
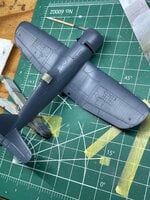
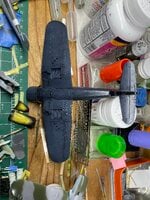
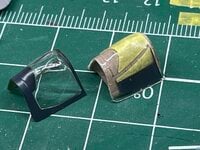
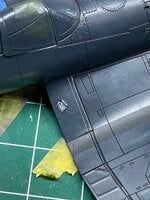
next phase. Somehow had a small gap on the right wing root. Mr Surfacer to the rescue.
Attachments
-
 71532241499__226FAF13-48B3-4BFA-8706-12AE7F4F4828.jpeg841.8 KB · Views: 11
 -
 71555410628__43E3D6DA-13F0-4E93-93A4-1006DAC7C6C3.jpeg1.1 MB · Views: 10
 -
 71554146135__E8B34CC4-9C25-4EEC-97F5-E199EDD1CABF.jpeg942.8 KB · Views: 11
 -
 71552873127__70DFDFD3-0B40-484B-A098-64E9FC3EB247.jpeg870.6 KB · Views: 12
- Thread starter
- #3
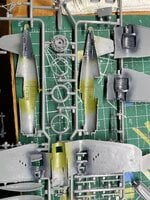
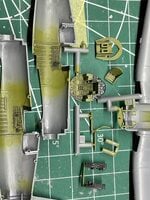
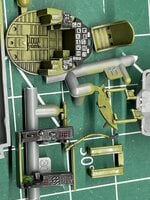
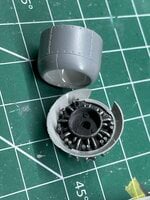
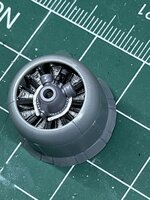
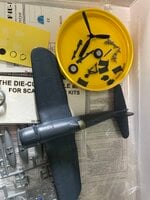
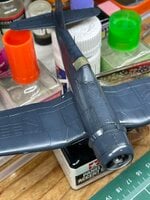
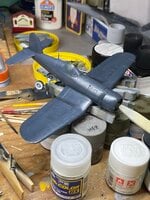
more progress. i like to use Mr Surfacer Black (thinned down a lot) as my primer. Mr Color Acqeous is my paint of choice. While painting up one propeller, i figured i do a whole batch for future builds.
Attachments
- Thread starter
- #5
- Thread starter
- #6
- Thread starter
- #7
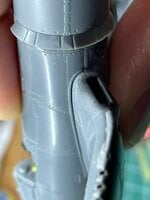
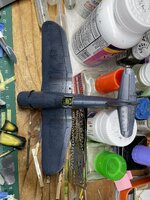
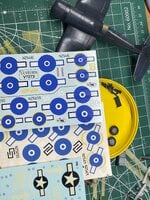
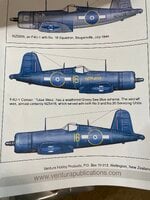
i had an old Ventura sheet that i was going to use, but the roundel blue looked too soft. So i found a slightly newer Ventura sheet. Less soft, but the picture of the plane does show a lighter color than most.
Attachments
Vic Balshaw
Major General
I have this one lined up to do in 1/32 scale. Your doing a nice build. 
- Thread starter
- #10
Vic Balshaw
Major General
Well spotted. 
fubar57
General
Beauty
Good work so far!
- Thread starter
- #15
Vic Balshaw
Major General
Liking it.
- Thread starter
- #18
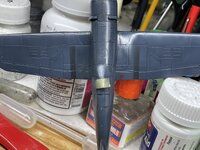
so i put on Tamiya black wash. Love the stuff (i have the dark gray and gray too). Comes off with enamel thinner.
but in a foggy minded moment, i grabbed my Mr Leveling Thinner… and started to see blue on my cotton bud and black as my primer was revealed.
So let that dry and resprayed a bit of Navy Blue. No damage done, it just means i'll spray GX-100 gloss again tomorrow and try the wash on Sunday.
but in a foggy minded moment, i grabbed my Mr Leveling Thinner… and started to see blue on my cotton bud and black as my primer was revealed.
So let that dry and resprayed a bit of Navy Blue. No damage done, it just means i'll spray GX-100 gloss again tomorrow and try the wash on Sunday.
Attachments
Vic Balshaw
Major General
Looks like you recovered well.
Users who are viewing this thread
Total: 1 (members: 0, guests: 1)