- Thread starter
- #1,261
Tony Hill
Tech Sergeant
Thank you gents! Hopefully a bit more progress shortly.
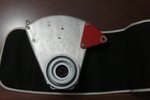
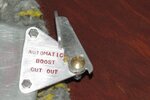
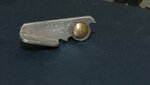
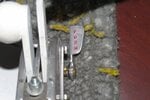
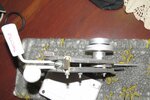
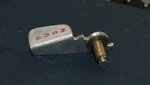
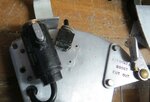
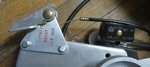
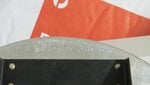
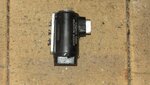
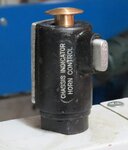
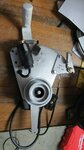
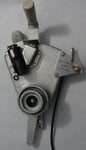
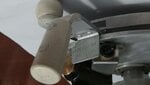
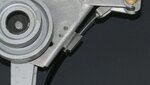
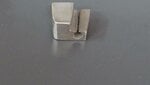
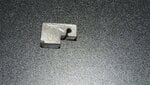
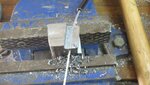
I think we also solved the "Mystery Towel Rail" question too! Early Spitfire Bracket for "Instrument"
I think we also solved the "Mystery Towel Rail" question too! Early Spitfire Bracket for "Instrument"
")