ozhawk40
Master Sergeant
Username: Ozhawk40
First name: Peter
Category: Advanced
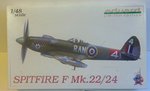
Scale: 1:48
Manufacturer: Eduard
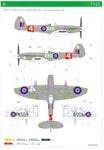
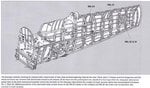
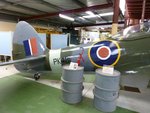
Model Type: Supermarine Spitfire F Mk.22 probably PK559
Details: No 607 (County of Durham) Squadron RauxAF - Cooper Trophy Air Race 1948
Aircraft Assignment: TBD
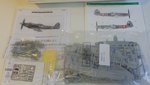
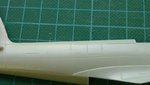
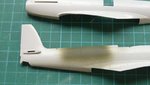
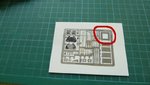
Accessories: Masks, Resin, and Etch all in the box!
Decals: Eduard
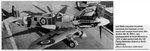
For me its got be a Spitfire. Don't care what Mark or model. Some like the earlies, some like the lates. I have this Mk22, and now's the time to use it!

First name: Peter
Category: Advanced
Scale: 1:48
Manufacturer: Eduard
Model Type: Supermarine Spitfire F Mk.22 probably PK559
Details: No 607 (County of Durham) Squadron RauxAF - Cooper Trophy Air Race 1948
Aircraft Assignment: TBD
Accessories: Masks, Resin, and Etch all in the box!
Decals: Eduard
For me its got be a Spitfire. Don't care what Mark or model. Some like the earlies, some like the lates. I have this Mk22, and now's the time to use it!