2996 Victor
Airman
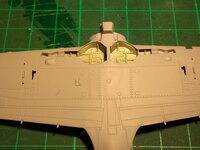
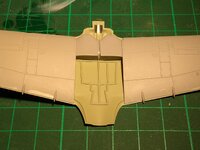
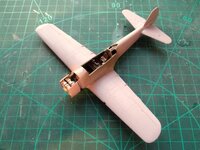
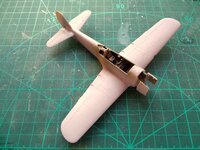
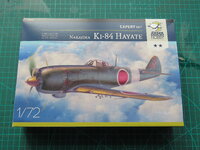
My first thread on the forum isn't quite start to finish, as the build is already quite advanced. However, I'll post photos I've taken along the way as it was begun on Britmodeller in last year's Turning Japanese group build. Its the Arma Hobby Expert boxing, so it comes with additional markings options and a small sheet of etched brass. Its a lovely kit, typical Arma, it goes together nicely and the parts fit is great, although care is still needed of course. The level of detail is excellent.
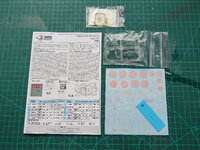
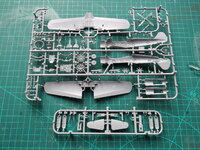
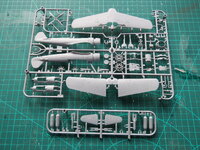
Box and sprue shots:
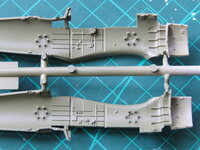
I tend to use Tamiya acrylic rattle cans for primer, so here the fuselage halves are primed and I've started putting together the cockpit and engine:
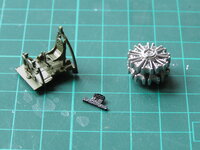
The interior green I've used is Mr Hobby Aqueous H320 Dark Green, which I used for my Nakajima-built aircraft.
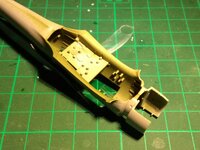
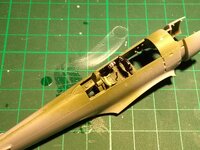
And there things rested for a good while.....until recently when I chanced to unearth the sprues! First thing to do was add the little separately-moulded controls and the etched levers and bits-and-bobs, and then paint the fuselage interior green:
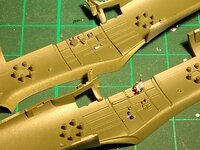
A bit of detail painting followed, picking out the handles on the levers and suchlike.
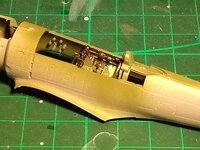
And the cockpit assembly was finished:
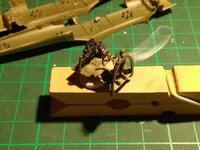
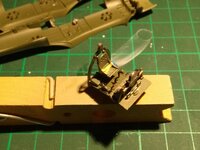
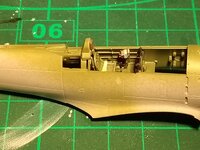
There are a number of small/tiny decals to be used in the cockpit area, for instance a compass on the portside floor, and the switch panel on the starboard side. The decals settle down pretty well, but they do have a fair bit of carrier film, so need a few treatments with setting solution to get them to sit properly. Once under a waft of matt lacquer, though they look pretty good!
Thanks for looking in.
Cheers,
Mark
Box and sprue shots:


I tend to use Tamiya acrylic rattle cans for primer, so here the fuselage halves are primed and I've started putting together the cockpit and engine:


The interior green I've used is Mr Hobby Aqueous H320 Dark Green, which I used for my Nakajima-built aircraft.
And there things rested for a good while.....until recently when I chanced to unearth the sprues! First thing to do was add the little separately-moulded controls and the etched levers and bits-and-bobs, and then paint the fuselage interior green:

A bit of detail painting followed, picking out the handles on the levers and suchlike.
And the cockpit assembly was finished:


There are a number of small/tiny decals to be used in the cockpit area, for instance a compass on the portside floor, and the switch panel on the starboard side. The decals settle down pretty well, but they do have a fair bit of carrier film, so need a few treatments with setting solution to get them to sit properly. Once under a waft of matt lacquer, though they look pretty good!
Thanks for looking in.
Cheers,
Mark
Last edited:

