2996 Victor
Airman
Hi again,
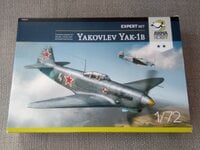
this is another of my current builds, again started for a Group Build on Britmodeller. This time, its Arma Hobby's Yakovlev Yak-1b Expert Set in 1/72 scale and, as is usual with the Expert Set boxing, there are six markings options and a small sheet of etched brass details. Its another lovely Arma kit: parts fit is great, there's plenty of internal and external detail with the latter being delightfully restrained, notably the fabric effect on the rear fuselage.
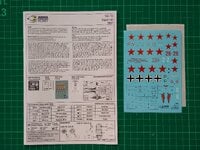
Despite the wealth of markings options provided, this one will be finished in the markings of "25 White" of the 3GvIAP, Red Banner Baltic Fleet Air Force, Lavensaari airfield, Jul-Aug 1943. The finish is the typical Black/Olive disruptive pattern upper surfaces over Light Blue under surfaces with plain stars in six positions and the code number, spinner and rudder in white.
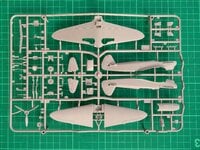
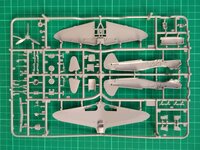
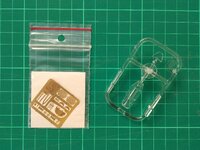
Box and sprue shots:

I use Tamiya rattle cans for primer, but in this case it was a one-shot process for the interior as I used TS-66 IJN Grey (Kure Arsenal) to represent the VVS A-14 interior grey.
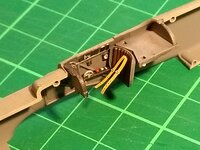
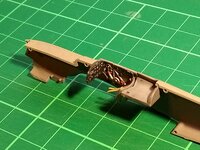
I kicked off with the one-piece upper wing panel to which is added the spar forming the rear face of the wheel wells:
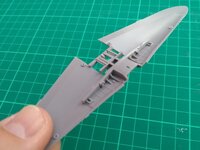
Apologies for the slightly fuzzy pic.
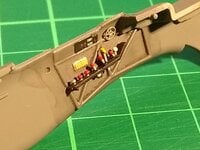
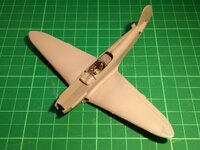
The upper wing panel also forms the cockpit floor, to which is added the rudder bar and control column:
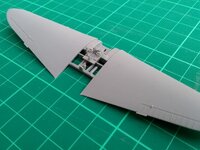
These bits were given a dash of the interior grey and the oxygen bottle had a coat of bright blue because it looked nice
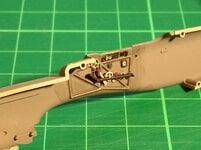
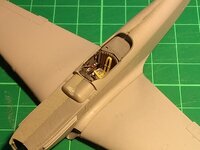
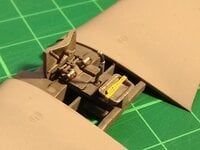
The seat base and firewall thingy were painted separately and attached later, followed by a bit of detail painting and a smidgeon of weathering, and lastly the seat lap straps were added from the etch. Which got me to this point:
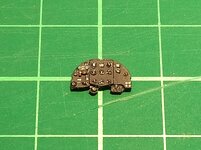
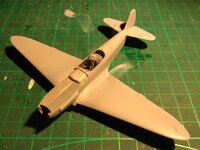
The seat back is a separate part which attaches to the rear cockpit decking:
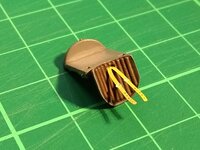
The shoulder straps have been left like that deliberately, so that they can be "posed" once the seat back is fitted. Boy, do they get in the way.....
Thanks for looking in!
Cheers,
Mark
this is another of my current builds, again started for a Group Build on Britmodeller. This time, its Arma Hobby's Yakovlev Yak-1b Expert Set in 1/72 scale and, as is usual with the Expert Set boxing, there are six markings options and a small sheet of etched brass details. Its another lovely Arma kit: parts fit is great, there's plenty of internal and external detail with the latter being delightfully restrained, notably the fabric effect on the rear fuselage.
Despite the wealth of markings options provided, this one will be finished in the markings of "25 White" of the 3GvIAP, Red Banner Baltic Fleet Air Force, Lavensaari airfield, Jul-Aug 1943. The finish is the typical Black/Olive disruptive pattern upper surfaces over Light Blue under surfaces with plain stars in six positions and the code number, spinner and rudder in white.
Box and sprue shots:


I use Tamiya rattle cans for primer, but in this case it was a one-shot process for the interior as I used TS-66 IJN Grey (Kure Arsenal) to represent the VVS A-14 interior grey.
I kicked off with the one-piece upper wing panel to which is added the spar forming the rear face of the wheel wells:

Apologies for the slightly fuzzy pic.
The upper wing panel also forms the cockpit floor, to which is added the rudder bar and control column:

These bits were given a dash of the interior grey and the oxygen bottle had a coat of bright blue because it looked nice
The seat base and firewall thingy were painted separately and attached later, followed by a bit of detail painting and a smidgeon of weathering, and lastly the seat lap straps were added from the etch. Which got me to this point:

The seat back is a separate part which attaches to the rear cockpit decking:

The shoulder straps have been left like that deliberately, so that they can be "posed" once the seat back is fitted. Boy, do they get in the way.....
Thanks for looking in!
Cheers,
Mark

