B-17engineer
Colonel
Here you are Dwight!
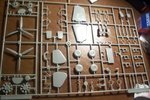
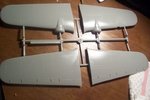
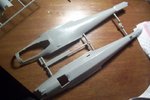
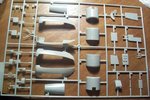
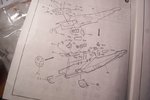
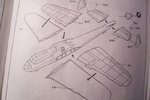
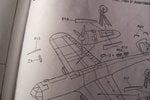
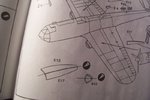
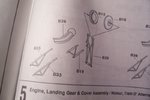
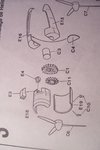
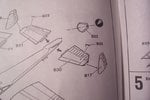
Definitely not a beginner model.....
Definitely not a beginner model.....
Attachments
-
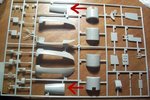
 102_4864.JPG49.3 KB · Views: 221
 -
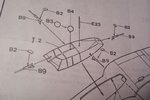
 102_4865.JPG56.3 KB · Views: 199
 -
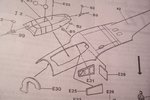
 102_4866.JPG100.2 KB · Views: 191
 -
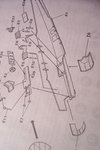
 102_4867.JPG56.9 KB · Views: 230
 -
 102_4868.JPG57.6 KB · Views: 193
 -
 102_4875.JPG54.5 KB · Views: 189
 -
 102_4874.JPG55.8 KB · Views: 205
 -
 102_4872.JPG43.6 KB · Views: 195
 -
 102_4870.JPG92.1 KB · Views: 214
 -
 102_4869.JPG48.4 KB · Views: 211
 -
 102_4878.JPG38.1 KB · Views: 217
 -
 102_4877.JPG68 KB · Views: 184
 -
 102_4876.JPG60.7 KB · Views: 182
")