fubar57
General
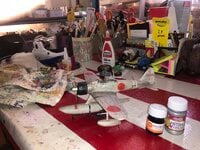
Nice work Luis. I know what you mean about those drills. I bought 10 x .3mm a little while ago to replace the ones I broke.
Geo
Geo
Follow along with the video below to see how to install our site as a web app on your home screen.
Note: This feature may not be available in some browsers.
Ad: This forum contains affiliate links to products on Amazon and eBay. More information in Terms and rules


 ) to emulate some masters of modeling and trying to "cover" with bond sheet of good thickness, held with the left hand while I apply the varnish with the right hand, though with folds and cuts to cover the areas that did not want to spray. ...

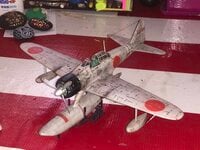
 , I glued with superglue, I made a few tweaks and being a light hair (between gray and blonde ) ... and with a wet swab into the jar where I keep the oils diluted for washing, I gave a "darkened the cable (gray hair)," ... and I liked how it looks.


 )
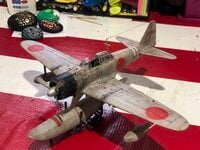
)Looks good here Luis

That is a beautiful machine Luis. I also checked your thumb nail by pulling it up, taking a copy and checking it's size on my PhotoPad. It has come up at over 3200pixels and it is a very clear and sharp pic.