SaparotRob
Unter Gemeine Geschwader Murmeltier XIII
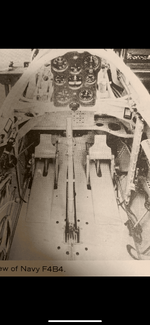
Preserving history, one gauge at a time.Good morning everyone,
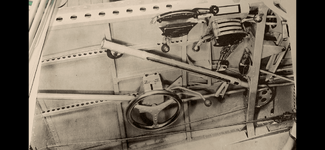
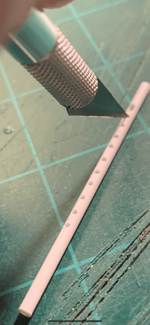
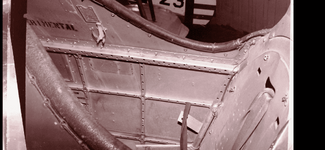
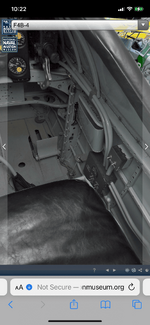
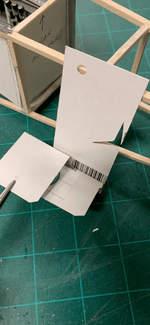
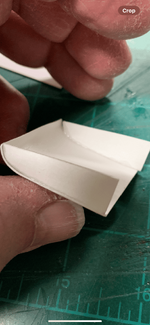
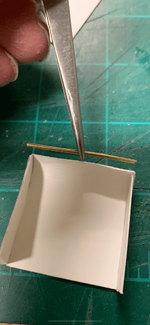
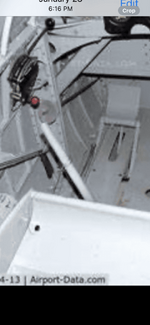
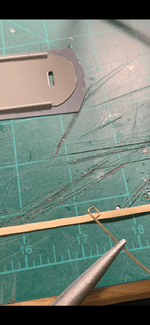
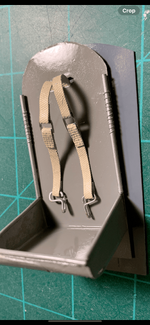
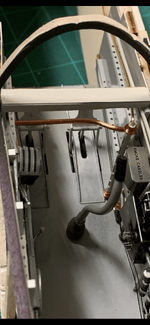
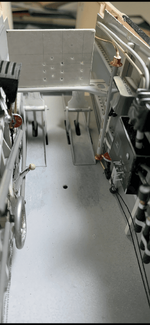
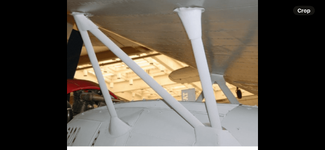
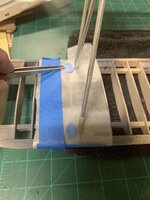
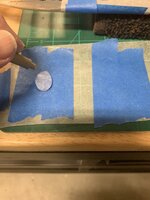
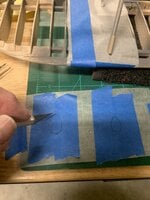
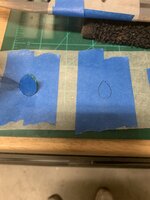
Today I'll cover this unique pipe with several openings. As it turned out, it's a fuel gauge. At least that's what the reference says. Please correct me if I'm wrong.
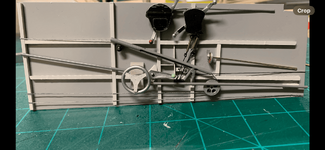
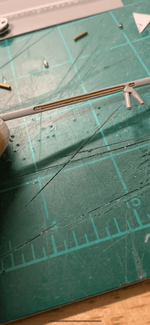
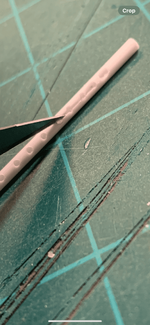
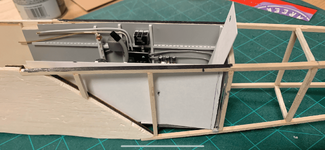
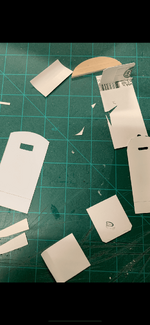
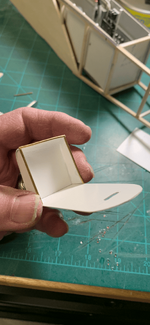
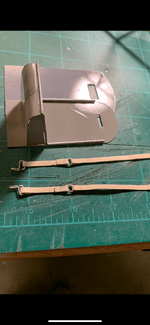
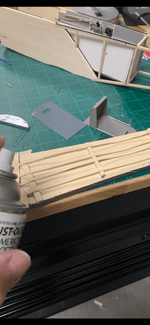
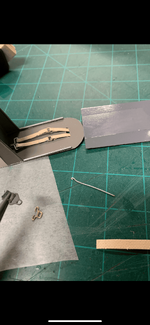
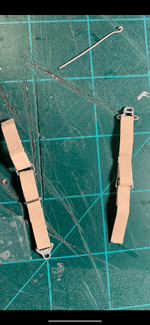
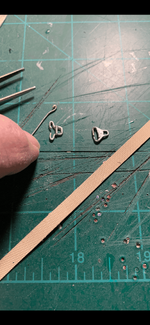
I'm going to present my trial & errors in effort to get what I felt, would be good results.