What's on The Workbench (10 Viewers)

Ad: This forum contains affiliate links to products on Amazon and eBay. More information in Terms and rules

Really nice, Alan. I have my Canon set to "Aperture Priority" with the fstop set to the highest number to keep everything in focus. I just got an iPhone 17 this week because my diesel burning 8 couldn't upgrade any more so I waiting to take some pics to see how it is
 
Nice Alan :thumbright:

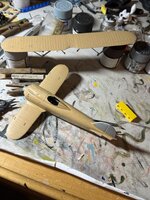
Continuing with my attack on the shelf of doom. This guy has been in long term restoration after 2 major mishaps. Still a few touch ups and some re-marking to go, but prop and rocket rails are finally painted and on.
(Revell - ex Matchbox- 1:72 Fairey Swordfish)
20260324_234306.jpg

20260324_234147.jpg
 
Cheers guys. She has been through the wars!
First the top wing broke off when we moved here. The painting around the struts to lower wings had been spotless 'til then. These were touched up and a missing strut fabricated.
Later, a then- 2 year old son really liked her, and took her for a walk to the shops... trip and smash. He was ok, but his cushion was the Swordfish, which ended up literally in pieces - even the fuselage cracked in half and broke off at the tail. That was a much bigger job to fix.
Just want her to be complete now and as nice as poss under the circumstances.
 
Some Nice work on the Bi-Planes fellas! :salute: I am calling in the bets on this one guys it's time for the cabinet and move on to a new one.;)
 

Attachments

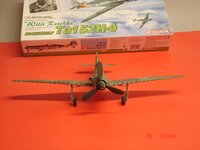
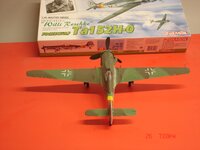
  • ta-152H 001.JPG
    ta-152H 001.JPG
    303.3 KB · Views: 22
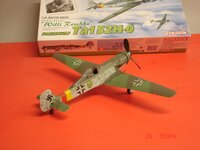
  • ta-152H 002.JPG
    ta-152H 002.JPG
    317 KB · Views: 23
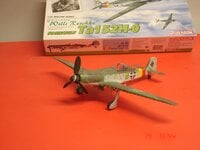
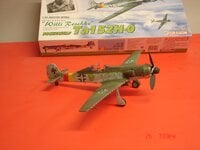
  • ta-152H 003.JPG
    ta-152H 003.JPG
    339.1 KB · Views: 20
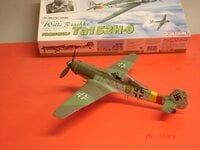
  • ta-152H 004.JPG
    ta-152H 004.JPG
    322.1 KB · Views: 25
  • ta-152H 005.JPG
    ta-152H 005.JPG
    339 KB · Views: 21
  • ta-152H 006.JPG
    ta-152H 006.JPG
    314.5 KB · Views: 23
Awesome Kev :thumbright:

Had to remove the radio and ammo boxes from Noah's Stuart, as the Academy interior layout callouts are for the British version, sans sponson Bownings. One upset dude, as he couldn't fit the MGs, but one of those valuable lessons we all learn in the hobby - in this case not to trust instructions 100%, but check ahead and dry fit parts first. Now filled and sanded, ready for repainting.

(He had glued them fairly solidly, so some tools and effort were required... :) )
20260327_172913.jpg
 
Last edited:

Users who are viewing this thread

Back