Crimea_River
Marshal
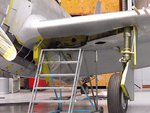
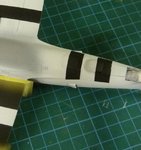
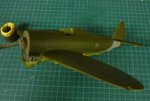
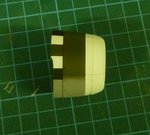
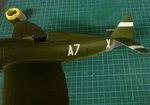
Coming along beautifully Peter.
Follow along with the video below to see how to install our site as a web app on your home screen.
Note: This feature may not be available in some browsers.
Ad: This forum contains affiliate links to products on Amazon and eBay. More information in Terms and rules
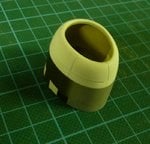
Looking good Peter. I got a few shots of the razorback being re-built at Duxford last Friday, if you think they might be useful? They're mainly 3/4 head on, but there is some detail to be seen, around the cowling and wheel bays.

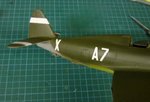
I was about to ask the guy, when he had to go off somewhere. I'd guess, being Duxford-based, it will probably be 78th FG, but it could be 361st FG, who were based 'just up the road' at Bottisham.
8)
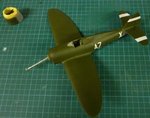
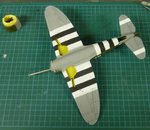
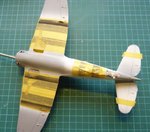
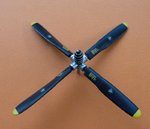
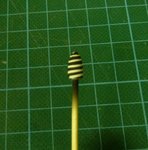
Looking very good indeed Peter, should be a cracker when done. Is that thing sticking out of the front what's known as an airscrew ......... I'm already out the door !!