- Thread starter
- #21
ozhawk40
Master Sergeant
Hi Guys
Well I know its been a while to get cracking on this project, but with the Commonwealth GB out the way and some 'free' time over Easter I can finally make a start.
This one is going to be build straight from the box, with no add ons apart from the decals and DIY seat belts.
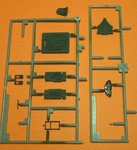
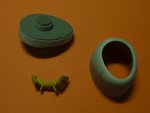
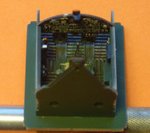
Pic 1
Here's the seat. Very basic and a bit thickly molded for 1/48.
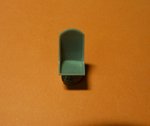
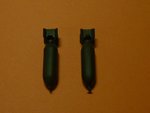
Pic 2
Here I've sanded down the sides as much as i'd dare.
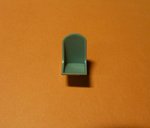
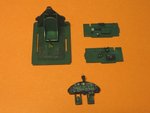
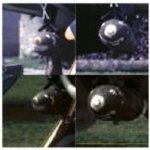
Pic 3
Interior gets a spray of DDG, or Dull Dark Green. I believe the P-47's were all this colour, except for the G model made by Curtiss, which had the 'normal' AAF interior green. Instrument panel is gloss black at this stage in readiness for the Hasegawa decal, after which I'll matt coat it.
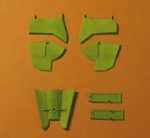
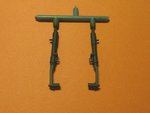
Pic 4
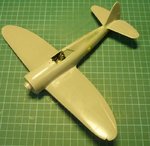
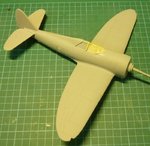
One thing I'll need to contend with is this crack in the fuselage. Postal transit damage. Anyway should not be too difficult to fix.
I've now broken the 'drought' with this one so hopefully I'll have more updates soon.
Thanks for looking. 8)
Cheers
Peter
Well I know its been a while to get cracking on this project, but with the Commonwealth GB out the way and some 'free' time over Easter I can finally make a start.
This one is going to be build straight from the box, with no add ons apart from the decals and DIY seat belts.
Pic 1
Here's the seat. Very basic and a bit thickly molded for 1/48.
Pic 2
Here I've sanded down the sides as much as i'd dare.
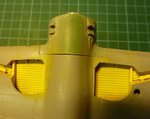
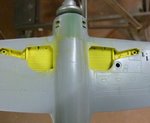
Pic 3
Interior gets a spray of DDG, or Dull Dark Green. I believe the P-47's were all this colour, except for the G model made by Curtiss, which had the 'normal' AAF interior green. Instrument panel is gloss black at this stage in readiness for the Hasegawa decal, after which I'll matt coat it.
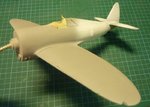
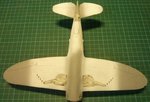
Pic 4
One thing I'll need to contend with is this crack in the fuselage. Postal transit damage.
Anyway should not be too difficult to fix.I've now broken the 'drought' with this one so hopefully I'll have more updates soon.
Thanks for looking. 8)
Cheers
Peter