1/48 Special Hobby Reggiane Re.2005 Sagittario

Ad: This forum contains affiliate links to products on Amazon and eBay. More information in Terms and rules

Grant Barr

Senior Airman
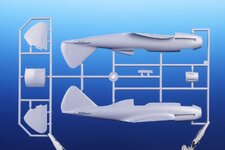
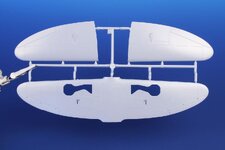
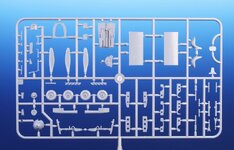
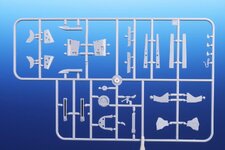
Next kit on the to do list is the Re.2005 from Special Hobby. I don't have any add-ons for this kit so it will be mostly OOB with a few bits and pieces scratched together where necessary. It's my first Special Hobby kit so I don't really know what to expect quality wise. The kit components look as follows:
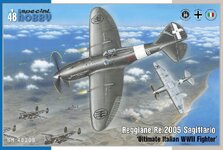
001_RE.2005 Box Art.jpg003_RE.2005 A Sprue.jpg004_RE.2005 B Sprue.jpg005_RE.2005 C Sprue.jpg006_RE.2005 D Sprue.jpg
Pics courtesy of the Special Hobby website.

I will be finishing this one as the following aircraft (S/N MM.092351), which seems to be one of three or four aircraft that were somewhat documented with photos during the war. I've not spent a whole lot of time researching this aircraft or the squadron to which it belonged, it's just one of those late war Italian aircraft that evolved from an ugly duckling into a thing of beauty once they mated it with an inline engine. Late Macchi's did the same thing...
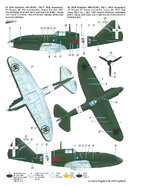
002_RE.2005 Paint Scheme.jpg
Not sure how this will go, but am hoping to do it in less than the 10 months the last kit took me...🙃
 
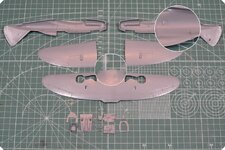
Progress has been made already - the main components have been removed from the sprue trees and inspected to see how much work will be required in cleaning up and making sure all joint surfaces are neat.
007_RE.2005 Parts Clean Up 1.jpg008_RE.2005 Parts Clean Up 2.jpg
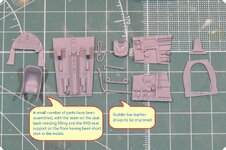
The good news is that the majority of the moldings are pretty clean, but as highlighted in the first shot there are some areas with significant flash. The other thing I noticed, a pet hate of fubar57 fubar57 I believe, is the thoughtless placement of sprue gates. The fuselage halves in particular have the gates in some really noticeable areas (the back of the fuselage spine for one) mean that a lot of very careful clean up is required before the main construction can occur. The cockpit pieces are pretty crisply molded, but some big mold seams and a short shot on one of the seat base supports have let the kit down a little. As is the case with every kit a little work in thinning pieces down a bit helps in making the cockpit look that little better.
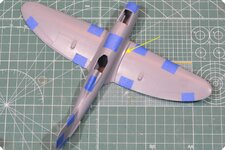
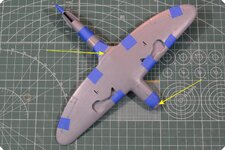
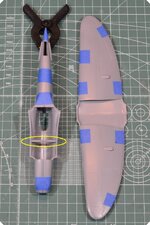
009_RE.2005 Test Fit 1.jpg010_RE.2005 Test Fit 2.jpg011_RE.2005 Test Fit 3.jpg
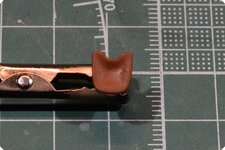
While doing the clean up I noticed the fuselage had a slight twist so I thought it might be a worthwhile exercise to mock up the main construction pieces. This has revealed quite a few small issues with part/panel line alignment and some gaps in main joints that will need to be addressed in one way or another.
012_RE.2005 Tail Wheel Well Clean Up.jpg013_RE.2005 Rudder Bar & Straps.jpg
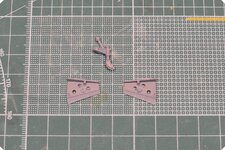
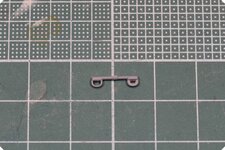
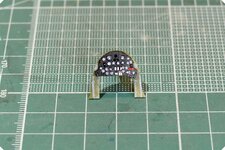
For the tailwheel and the wheel well the seams needed a significant amount of clean up (take a close look at the wheel yoke) and there are two really poorly placed ejection plugs on the well sidewalls. For the rudder pedals, the thick moulding (RHS in the photo) really benefits from thinning down (as seen on the LHS pedal).

I think that's about all I have time for tonight - hoping to add further updates in the next few days. The weather has turned pretty crappy down here, so it excuses me from other tasks that would take up possible modelling time. Lets hope that remains the case!

Thanks for looking in on my latest project. :thumbright:
 
Last edited:
A bit more progress to report. Paint has been applied and some of the cockpit assembly has been done.
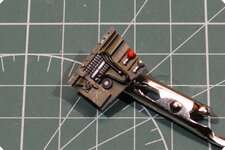
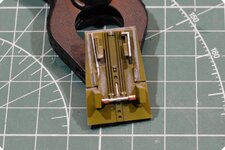
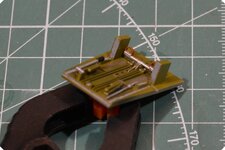
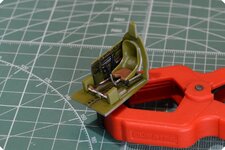
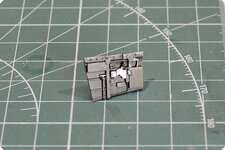
014_RE.2005 Leather Seat Pad.jpg015_RE.2005 Cockpit LHS Panel.jpg016_RE.2005 Cockpit Floor Panel 1.jpg017_RE.2005 Cockpit Floor Panel 2.jpg018_RE.2005 Cockpit Half Assembled.jpg019_RE.2005 Instrument Panel.jpg020_RE.2005 Cockpit LHS Sidewall.jpg
I have to say I am happy with the way the leather seat pad turned out. I was experimenting with how to make it look soft and have some waviness to the surface - just applied several layers of paint in quick succession and use the brush to apply thick and thin layers of paint to make it look like the seat has been used.

For the IP the raised detail looked really good, but Special Hobby supplied a decal for the instruments, meaning to get a decent finish the raised details would have to go. I ended up individually cutting out each instrument face and placing it within the dial on the panel. It's not perfect - my hands shake a fair bit making it hard to place them accurately - but I am please with the result.

The rest of the cockpit has come up pretty well, assembly to follow.
 

Users who are viewing this thread

Back