100th Anniversary Naval Aviation - Curtiss A-1 Triad 1/48th

Ad: This forum contains affiliate links to products on Amazon and eBay. More information in Terms and rules
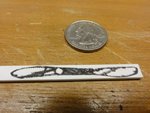
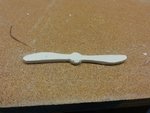
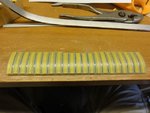
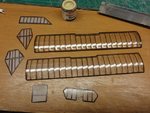
Working on the prop today.

pic 1 - pattern cut from plans and glued to thick styrene strip
pic 2 - rough cut outline with razor saw and knife
pic 3 - remove everything that doesn't look like a finished prop
 

Attachments

  • A-169prop.jpg
    A-169prop.jpg
    58.7 KB · Views: 77
  • A-170prop.jpg
    A-170prop.jpg
    63.6 KB · Views: 100
  • A-171prop.jpg
    A-171prop.jpg
    49.9 KB · Views: 89
Masking the wings to do the ribs up right.
 

Attachments

  • A-172wingmask.jpg
    A-172wingmask.jpg
    56.7 KB · Views: 75
  • A-173wingmask.jpg
    A-173wingmask.jpg
    52.2 KB · Views: 63
  • A-174wingmask.jpg
    A-174wingmask.jpg
    54.1 KB · Views: 83
Wojtek - it's hard to see in this set of pics but the last set shows the stretched sprue added to the mold to give that raised rib detail. Waiting for the brown paint to dry, then I will show pics of the rib paint detail. Then will come a transluscent coat of tan to replicate the clear doped linen look. I do not see any stitching or seam covers in any of the pictures. I know that WWI combat types had this feature, but don't believe this to be the case with this bird. The replicas had the upper covering glued to the ribs only.

Terry - thanks for the compliments, after doing a few, I have that distinctive prop shape down pretty well.
 
Rib work is complete. The combination of raised ribbing and paint is looking just like I want it to. Now for a coat of transluscent paint and hoping that I don't scratch it up again. Unlike other paint jobs, this can't be touched up. Because the paint is transluscent, any area that has even a slightly thicker coat will look very different.
 

Attachments

  • A-175wingribs.jpg
    A-175wingribs.jpg
    69.7 KB · Views: 80
  • A-176wingribs.jpg
    A-176wingribs.jpg
    36.1 KB · Views: 68

Users who are viewing this thread

Back