Night Fighter Nut
Master Sergeant
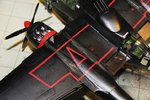
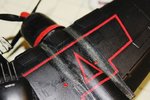
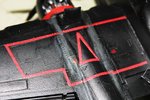
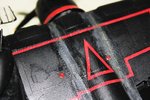
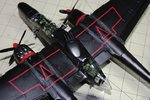
I noticed that the red line goes around the nose, both sides and underneath.
Follow along with the video below to see how to install our site as a web app on your home screen.
Note: This feature may not be available in some browsers.
Ad: This forum contains affiliate links to products on Amazon and eBay. More information in Terms and rules
Good info Bill. Got plenty of photos of the main cockpit upper hatch, and the lower, rear belly hatch, but nothing on the rear upper hatches.
Bill, where did you see that?
Likely, there is a big warning sign on the front hatch saying, "Warning - Walk Aft" and on the inside of the front wheel doors saying "Propeller" 'Walk Aft"
Shades of Indiana Jones...
Me too Wayne, but you Guys put me into the "finger-painting" category.
Wait til the next build, I'm gonna take some Al-wire and knit a working 16-cylinder radial engine