Crimea_River
Marshal
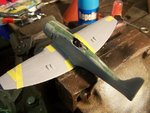
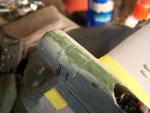
Looking very good Michael.
Follow along with the video below to see how to install our site as a web app on your home screen.
Note: This feature may not be available in some browsers.
Ad: This forum contains affiliate links to products on Amazon and eBay. More information in Terms and rules
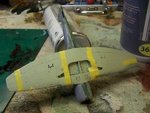
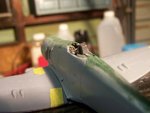
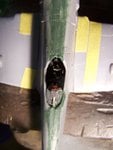
are ther any techniques to avoid scratching too much?
![000_0109[1].jpg](/forum/data/attachments/173/173922-d6adbf417519b73c6cdb2552ea14582c.jpg)
![000_0108[1].jpg](/forum/data/attachments/173/173923-ebf9070f257f97e152b0267a9222631e.jpg)