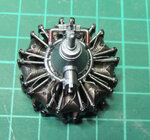
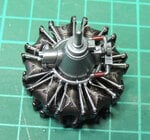
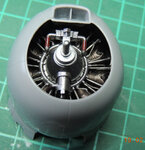
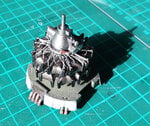
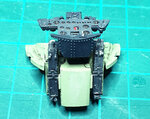
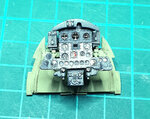
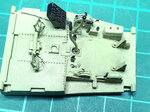
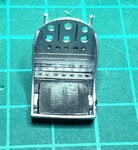
Ki-84 Hayate flown by shoi Karasawa, 57 Shimbu-Tai - May 1945 - From Hasegawa kit in 1:32 scale

Ad: This forum contains affiliate links to products on Amazon and eBay. More information in Terms and rules

al49

Tech Sergeant
1,552
338
Dec 16, 2009
Milan, Italy
Hi everybody,
last February I saw a picture of Japanese WW2 fighter Ki-84 Hayate and I was fascinated by that plane, so I decided that, besides all other projects waiting to be completed in my cabinet, I had to make a model of her and I purchased (at a good price) the Hasegawa kit.
Here following is the profile I'm using to make my model.
The assembly started already in February, so very soon I will post some photos.
Alberto
 

Attachments

  • vista lat.jpg
    vista lat.jpg
    153.2 KB · Views: 240
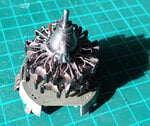
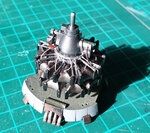
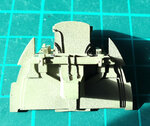
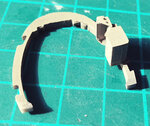
Here we are, starting from the engine that was made out-of-the box with the addition of some wiring:
 

Attachments

  • 20190209_132309[1].jpg
    20190209_132309[1].jpg
    501.1 KB · Views: 144
  • DSCN2773.JPG
    DSCN2773.JPG
    327.4 KB · Views: 165
  • DSCN2774.JPG
    DSCN2774.JPG
    392.3 KB · Views: 163
  • DSCN2775.JPG
    DSCN2775.JPG
    564 KB · Views: 179
  • 20190302_143236.jpg
    20190302_143236.jpg
    534.3 KB · Views: 148
  • 20190302_143259.jpg
    20190302_143259.jpg
    463.4 KB · Views: 160
  • 20190302_143245.jpg
    20190302_143245.jpg
    501.3 KB · Views: 168
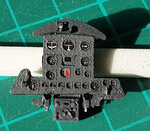
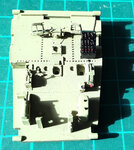
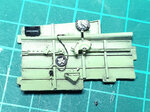
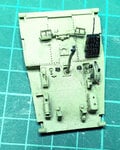
Then we have the cockpit where I used the Aires resin kit.
 

Attachments

  • 20190302_143543.jpg
    20190302_143543.jpg
    191.4 KB · Views: 159
  • 20190302_143605.jpg
    20190302_143605.jpg
    591.5 KB · Views: 157
  • 20190302_143615.jpg
    20190302_143615.jpg
    530.5 KB · Views: 168
  • 20190302_143848.jpg
    20190302_143848.jpg
    641 KB · Views: 162
  • 20190302_181141.jpg
    20190302_181141.jpg
    466.5 KB · Views: 163
  • 20190302_181212.jpg
    20190302_181212.jpg
    537.3 KB · Views: 164
  • 20190302_181235.jpg
    20190302_181235.jpg
    291.9 KB · Views: 157
  • 20190302_181229.jpg
    20190302_181229.jpg
    299.8 KB · Views: 172
  • 20190302_181217.jpg
    20190302_181217.jpg
    561.5 KB · Views: 163
  • 20190302_181308.jpg
    20190302_181308.jpg
    224.3 KB · Views: 179
Many thanks for your comments.
Next was a coat of aluminium on all surfaces followed by FS34087 Olive Drab on wings, tail planes and rudder as those I supposed were less inclined to wear.
 

Attachments

  • 20190322_225335.jpg
    20190322_225335.jpg
    1,010.6 KB · Views: 145
  • 20190322_225348.jpg
    20190322_225348.jpg
    937.4 KB · Views: 174
  • 20190324_103556.jpg
    20190324_103556.jpg
    920.4 KB · Views: 149
  • 20190324_103740.jpg
    20190324_103740.jpg
    836.3 KB · Views: 145
For the following step, I decided to try to arrange wear areas by applying some masking fluid, see below.
The output was that it works well only where the masking fluid is thick, otherwise doesn't go.
 

Attachments

  • 20190324_103556.jpg
    20190324_103556.jpg
    920.4 KB · Views: 153
  • 20190324_103740.jpg
    20190324_103740.jpg
    836.3 KB · Views: 162
Going on with the process, I had to ascertain that the masking fluid I applied was too thin, so very difficult to peel-off. The result is visible in the following pictures: too large areas.
 

Attachments

  • 20190326_120003.jpg
    20190326_120003.jpg
    542.8 KB · Views: 146
  • 20190326_120105.jpg
    20190326_120105.jpg
    640.7 KB · Views: 144
My next step was to check again photos to see how far the paint was really worn out on these birds and I found that, with some exceptions, the damage was not so bad, probably due to the short operational life ended by the end of the war.
Therefore I decided to keep only the small worn areas and to move on with painting, including sprayed on Hanomaru and walk-lines. Plus some decals, see below.
20190401_170610.jpg20190415_224914.jpg20190415_224922.jpg20190415_224944.jpg

Next step will be to add some more small worn-out areas using a pointed stick and some aluminium paint.
More pictures should come in few days.
Alberto
 

Users who are viewing this thread

Back