THX gents.Here a couple of pics with details A4K asked for.
Attachments
-
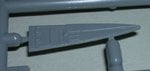
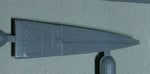
 armament dep covering.jpg71.8 KB · Views: 46
 -
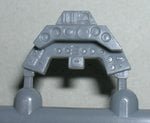
 cockpit interior1.JPG90.9 KB · Views: 45
 -
 cockpit interior2.JPG62.3 KB · Views: 45
 -
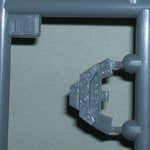
 cockpit interior2a.jpg72.3 KB · Views: 53
 -
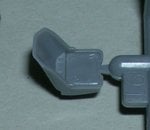 cockpit interior3.JPG79.5 KB · Views: 42
 -
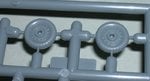
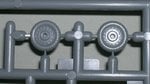
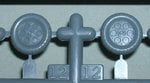 wheels1.JPG82 KB · Views: 46
 -
 pilot panel2.JPG82.4 KB · Views: 49
 -
 pilot panel1.jpg106.1 KB · Views: 48
 -
 engine cpwling .jpg104.9 KB · Views: 48
 -
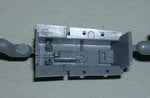 cocpit interior.JPG81.3 KB · Views: 46
 -
 wheels5.JPG72.4 KB · Views: 43
 -
 wheels4.JPG82.3 KB · Views: 47
 -
 wheels2.jpg82.6 KB · Views: 45
") (The Hasegawa A-8 will get a Revell cockpit)
(The Hasegawa A-8 will get a Revell cockpit)