109ROAMING
2nd Lieutenant
Glad you understood Wojtek
These online translaters are amazing
These online translaters are amazing
Follow along with the video below to see how to install our site as a web app on your home screen.
Note: This feature may not be available in some browsers.
Ad: This forum contains affiliate links to products on Amazon and eBay. More information in Terms and rules
Vad Wayne siar är han er intresserad i din bygga emedan din byggningen en unik modell
Hoppas du förstå")
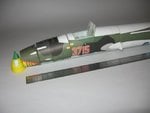
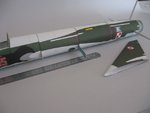
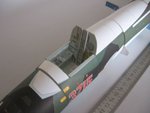
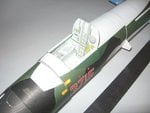
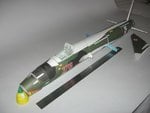
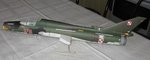
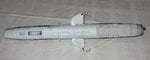
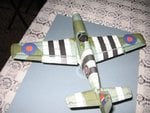
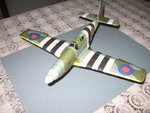
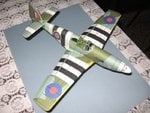
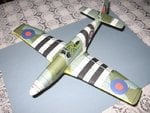
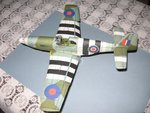
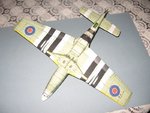
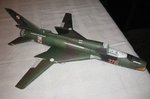
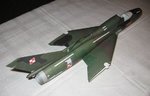
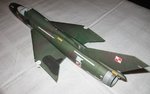
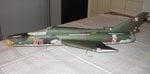
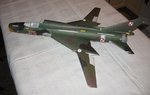
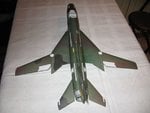
heres a pic of how the plane should look like
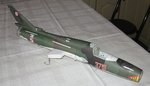
if that ever went into production, they'd have to make sure the wings would stand up to the pressure, otherwise, the wings would be flying off.
they's be all like: upps
right now, I'm working on the 1/72 Testors F4U-1 Corsair.
I used my airbrush for the first time. th plane dosn't look too good. it's kind of flaking on the left wing, and on the right elevator, had to go over that ith a brush, an there were some fisheye spots as well. I should really wash my models first before I paint them from now on >.>
the top of the model looks horrible >_< but the bottom is REALLY clean.