
Navigation
Install the app
How to install the app on iOS
Follow along with the video below to see how to install our site as a web app on your home screen.
Note: This feature may not be available in some browsers.
More options
You are using an out of date browser. It may not display this or other websites correctly.
You should upgrade or use an alternative browser.
You should upgrade or use an alternative browser.
What's on The Workbench (10 Viewers)
- Thread starter Heinz
- Start date
Ad: This forum contains affiliate links to products on Amazon and eBay. More information in Terms and rules
More options
Who Replied?

Greg Boeser
1st Lieutenant
No no no!
Now you hang it from a string in your basement and shoot at it with a pellet gun.
Now you hang it from a string in your basement and shoot at it with a pellet gun.

A4K
Brigadier General
Great work guys!
Alan - interesting the tail decals are seperated. I have an '80s issue decal sheet from that kit, and the tail markings are all one decal.
Alan - interesting the tail decals are seperated. I have an '80s issue decal sheet from that kit, and the tail markings are all one decal.


great work Guys

pinehilljoe
Staff Sergeant
Well done! Biplanes seem daunting.I got a very polite observation from @Crimea_River to stop whining and JUST DO IT. Back when I was in IT; at review time we were to propose a "stretch goal' in addition to all the other things we were expected to do. So in that spirt, I added weathering and dirt.
View attachment 869697
I did some light grey dry brush to bring out the ribbing. There is a lot of glare on the lower wing, but it is visible on the upper wing on the markings. The decals did not snuggle into the ailerons and I'm not ready to give up on getting a fine black line across that joint. You would think that the tail decal would be one piece but noooooo....
The stripes, "S", serial no, and whatever the tiny numbers might be, are 4 decals. I painted the stripes so I could cover the edges.
View attachment 869698
The wheels have a tiny hole drilled into them to represent access to the tire valve. I've seen a picture of Eddie Rickenbacker standing by his kite and there are just huge clods of mud on his boots and the landing gear. There is brown panel liner on the lower wings, over the wheels and a heavy wash on the legs and central brace. You can see some wires on the landing gear. I have all the wire represented but nowhere as complex as the real plane was. Some of the longer wires on the wings came in multiple strands with special ends to hook everything up. I only have to attach the upper wing, tail, engine, and wheels. Getting the wing and six struts to all line up is going to require a couple more arms.

PlasticHero
Senior Airman
 javlin , I feel your pain when it's "done" but now you have to start another, more difficult paint job on top of all the work.
 A4K , the decal sheet is PrintScale PSL72226 Balloon Busters. I now do like the idea of having the text and colors separate because different kits might have different dimensions and this lets you fit the text best.
 pinehilljoe , the SPAD is difficult because there are six struts along the wings. Maybe an Eindecker is next for me
If that occurred Greg it would be the equivalent to a 16" gun but she's good enough for the cabinet was like a bad relation with a crazy woman some things great the rest was a beotch.No no no!
Now you hang it from a string in your basement and shoot at it with a pellet gun.
A4K
Brigadier General
Sounds like my first girlfriend..! 


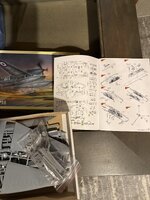
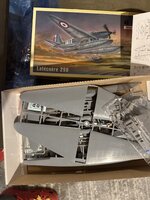

fubar57
General
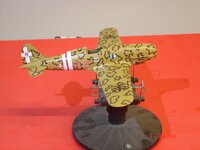
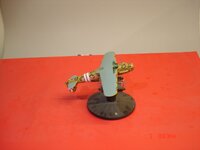
I have moved quickly with this the L/wing looks better than the right as far as the smoke rings I started with the right as I progressed I got a better feel for things.I still need to gloss the bottom for the lower insignia also need to do the radiator for gloss.I feel I should be done in the next week to ten days.The decals that lapped over the front of the wing I let lap over the tape to then using the tape as the line cut there and peeled up the tape.One could cut the smoke ring edge and place also like I did with the white band I chose to paint.

Attachments
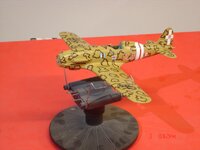
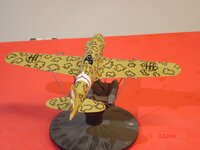

Viking1066
Brigadier General
Looks good!
fubar57
General
Looks very cool. Love them rings
A4K
Brigadier General
Bloody awesome Kev 

Vic Balshaw
Major General
Great result with the smoke rings.
A4K
Brigadier General
Ah, yeah...
Users who are viewing this thread
Total: 11 (members: 0, guests: 11)


