Airframes
Benevolens Magister
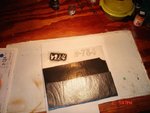
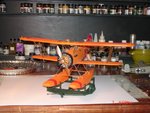
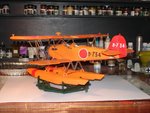
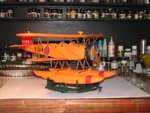
Regardless of the decal problems, it's looking good!
Follow along with the video below to see how to install our site as a web app on your home screen.
Note: This feature may not be available in some browsers.
Ad: This forum contains affiliate links to products on Amazon and eBay. More information in Terms and rules
 okay ,I think practice will make perfect.So tomorrow I wll play some if the wife lets me.I am off so tomorrow the tree comes down and decorations but I am taking some more vacation time next week
  .I am luving it so far after three years of kill'in myself I am starting to relax.Cheers