- Thread starter
- #41
Hotntot
Senior Airman
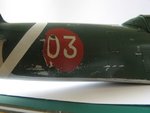
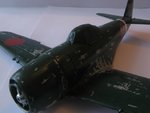
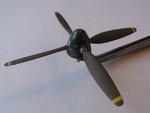
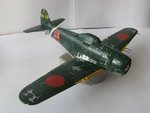
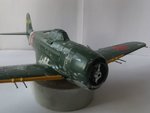
Thanks very much. Sorted out the remaining bits in the ofice area...then the canopy. Oh, ... and the decal fix.
Follow along with the video below to see how to install our site as a web app on your home screen.
Note: This feature may not be available in some browsers.
Ad: This forum contains affiliate links to products on Amazon and eBay. More information in Terms and rules
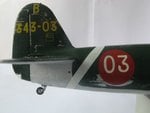
Decals on the way Tim!


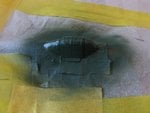
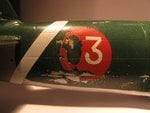
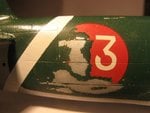
Looking good and nice to see someone is as paranoid about masking as I am.]
") I always find myself going for another strip of tape. And thanks everyone for your support. Hopefully I'll get a chance this weekend to get the decal done - although it's a new area for me - so any advice will be welcome. (looking on the web as well for tips).
I always find myself going for another strip of tape. And thanks everyone for your support. Hopefully I'll get a chance this weekend to get the decal done - although it's a new area for me - so any advice will be welcome. (looking on the web as well for tips).