Scratch build Boeing F4B-4

Ad: This forum contains affiliate links to products on Amazon and eBay. More information in Terms and rules

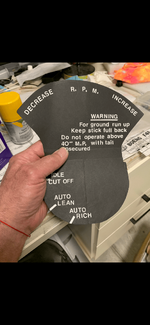
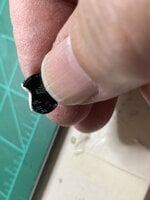
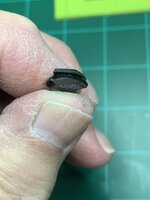
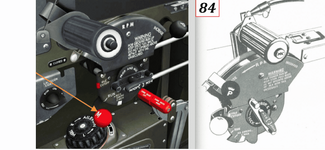
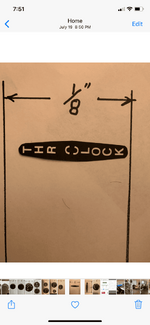
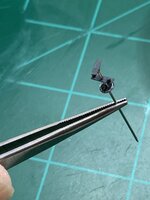
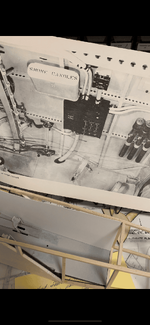
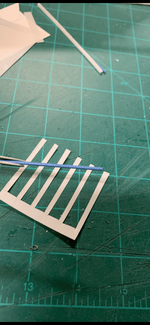
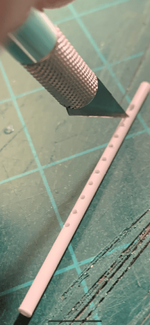
As with the avionics box in my previous post, I made a large copy of the throttle face with the appropriate letters. From there, I stood at varying distances with my iPhone on comers setting & took a series of photos I felt would result in an image close to the desired size to fit within the model.

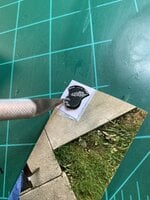
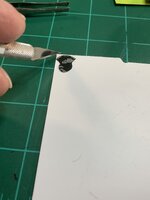
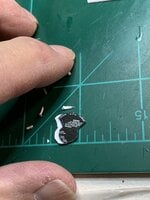
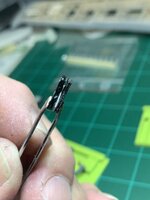
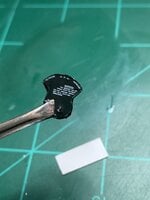
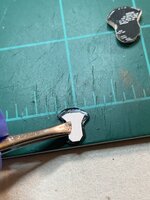
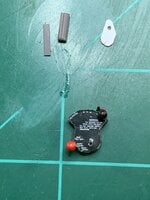
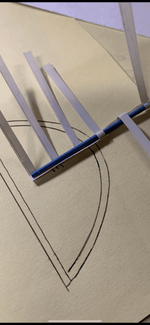
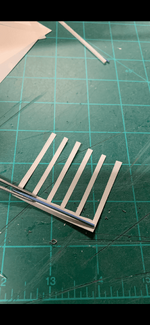
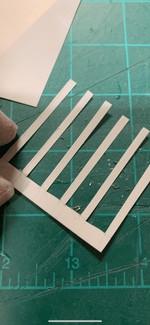
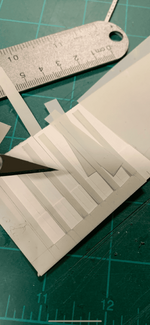
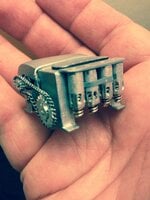
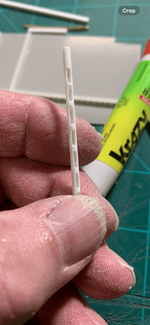
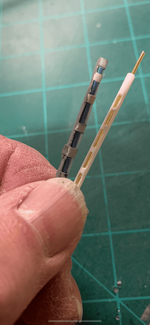
I then created a couple of near-identical copies of the throttle face. One was small to simply act as a spacer to make room for the throttle itself to be glued in between.
 

Attachments

  • IMG_9218.png
    IMG_9218.png
    388.3 KB · Views: 1
  • IMG_3507.png
    IMG_3507.png
    204.5 KB · Views: 1
  • IMG_3563.jpeg
    IMG_3563.jpeg
    1.4 MB · Views: 1
  • IMG_3588.jpeg
    IMG_3588.jpeg
    757 KB · Views: 1
  • IMG_3591.jpeg
    IMG_3591.jpeg
    1.1 MB · Views: 1
As these photos illustrate, the throttle is just a couple of identical laminations with enough space in between for the throttle & mixture.

I then used just a small dab of filler to close up the two sides.
 

Attachments

  • IMG_3681.jpeg
    IMG_3681.jpeg
    752.7 KB · Views: 1
  • IMG_3680.jpeg
    IMG_3680.jpeg
    1.4 MB · Views: 1
  • IMG_3677.jpeg
    IMG_3677.jpeg
    1.1 MB · Views: 1
  • IMG_3678.jpeg
    IMG_3678.jpeg
    1.2 MB · Views: 1
  • IMG_3675.jpeg
    IMG_3675.jpeg
    880.3 KB · Views: 1
  • IMG_3671.jpeg
    IMG_3671.jpeg
    1.3 MB · Views: 1
The mixture was just a pin with a red painted ball at the end. These ball pins are easily available at most local arts & crafts stores.
 

Attachments

  • IMG_3725.jpeg
    IMG_3725.jpeg
    1.2 MB · Views: 1
  • IMG_3726.jpeg
    IMG_3726.jpeg
    1.2 MB · Views: 1
  • IMG_3745.png
    IMG_3745.png
    393.8 KB · Views: 1
The throttle is tubular shaped & featured a push-to-talk button on the end. This was accomplished by cutting a short length of suitable sized plastic tubing.

I then threaded a short piece of black thread into the tubing & pulled it until the end of the thread was just sticking out to give that button.

A small piece of cardstock painted silver acted as a "clip" for the wire for the mic.

Almost there…..
 

Attachments

  • IMG_3733.jpeg
    IMG_3733.jpeg
    1.2 MB · Views: 1
  • IMG_3734.jpeg
    IMG_3734.jpeg
    1.1 MB · Views: 1
  • IMG_3735.jpeg
    IMG_3735.jpeg
    1.1 MB · Views: 1
  • IMG_3746.jpeg
    IMG_3746.jpeg
    910.4 KB · Views: 1
Finally, the throttle lock was just a series of eyeball-crossingly small pieces of pictures of the locking mechanism cut out & round plastic punched out & "skewarded" with a pin.
 

Attachments

  • IMG_3504.png
    IMG_3504.png
    362.1 KB · Views: 1
  • IMG_3507.png
    IMG_3507.png
    204.5 KB · Views: 1
  • IMG_3579.jpeg
    IMG_3579.jpeg
    942.8 KB · Views: 1
  • IMG_3580.jpeg
    IMG_3580.jpeg
    1 MB · Views: 1
  • IMG_3581.jpeg
    IMG_3581.jpeg
    1.4 MB · Views: 1
  • IMG_3584.jpeg
    IMG_3584.jpeg
    926.6 KB · Views: 1
Voila'! One throttle for a P-51 Mustang.

Quick edit:

This style of assembly took me about two weeks in my spare time & can be applied to most throttles used on various airplanes.

Cheers,
 

Attachments

  • IMG_3754.jpeg
    IMG_3754.jpeg
    1.1 MB · Views: 1
  • IMG_3757.jpeg
    IMG_3757.jpeg
    931.4 KB · Views: 1
  • IMG_3756.jpeg
    IMG_3756.jpeg
    805.3 KB · Views: 1
Last edited:

Users who are viewing this thread

Back