My two cents..
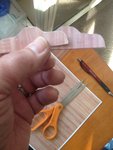
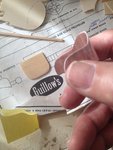
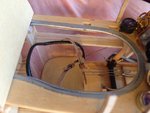
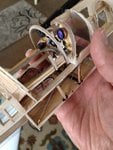
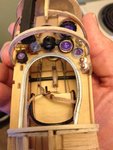
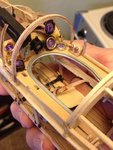
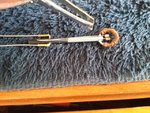
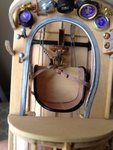
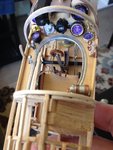
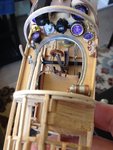
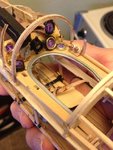
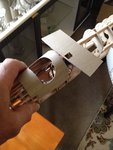
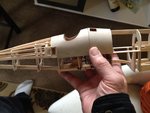
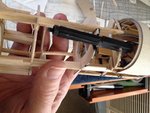
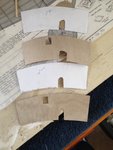
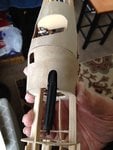
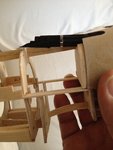
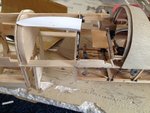
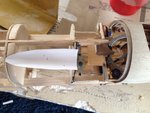
Usually I take the B&W diagram of the indicator panel and resize it to the scale. Then I turn it into the negative. It means that these parts that were white become black and those black get the white colour. The next step is to print it on a sheet of a clear foil A note.. it can be a self-adhesive one as well. As a result I obtain a couple of small pics of the pilot's panel in negative. Because the white isn't printed by both printers and xero machines the clear foil isn't overprinted at the areas. Then I cut out the panel and stick to a white piece of plastic plate of the shape of the indicator panel . At the top there is attached a black plate ( usually I use the black plastic obtained from old 3.5' HD floppy disks ) with drilled holes for the indicators. The final effect can be seen below. The P-51 is a paperboard model of 1/33 scale.

BTW I printed the pilot's panels inverted. It results in getting the clear glass at the top side that imitates the indicator lens..
Usually I take the B&W diagram of the indicator panel and resize it to the scale. Then I turn it into the negative. It means that these parts that were white become black and those black get the white colour. The next step is to print it on a sheet of a clear foil A note.. it can be a self-adhesive one as well. As a result I obtain a couple of small pics of the pilot's panel in negative. Because the white isn't printed by both printers and xero machines the clear foil isn't overprinted at the areas. Then I cut out the panel and stick to a white piece of plastic plate of the shape of the indicator panel . At the top there is attached a black plate ( usually I use the black plastic obtained from old 3.5' HD floppy disks ) with drilled holes for the indicators. The final effect can be seen below. The P-51 is a paperboard model of 1/33 scale.
BTW I printed the pilot's panels inverted. It results in getting the clear glass at the top side that imitates the indicator lens..

