What's on The Workbench

Ad: This forum contains affiliate links to products on Amazon and eBay. More information in Terms and rules

What's funny is I never even thought of building until it came to what I really wanted for Japanese aircraft wasn't sold pre-made. I have many of the diecast ones in storage and they are really nice. I will probably get rid of all of them some day. There's nothing like making it yourself. It's the same when I cook for my wife or kids, it gives me a very accomplished and warm feeling.
 
I've never built a ship model, and have not built a model in more than 25 years, but I have been wanting to get back into it. I used to build helicopters and WW2 aircraft.

Anyhow, my 6 year old son is huge into the Titanic right now. We went a visited the Titanic Museum in Branson last week, and well, I got suckered into building a model of the Titanic with/for him. So I guess my first model in 25 years will be a ship. :lol:

He was looking at my books by Robert Ballard the other day, and wants the Lusitania and Bismarck after that.

Regardless I need to build aircraft too again.

IMG_9330.jpeg
IMG_9329.jpeg
 
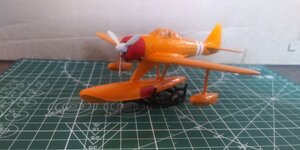
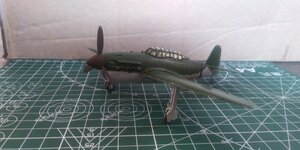
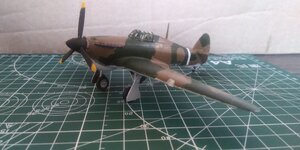
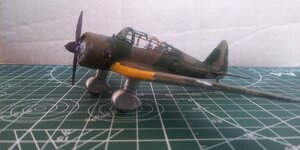
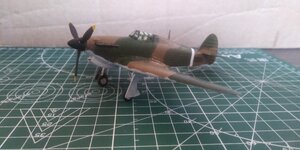
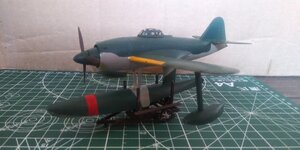
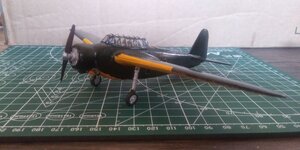
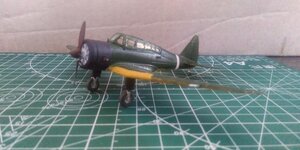
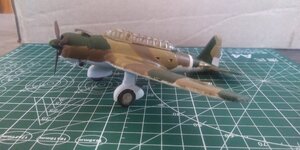
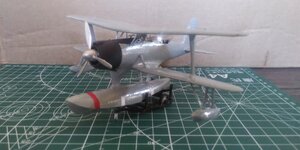
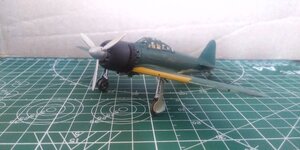
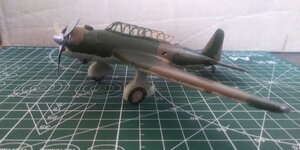
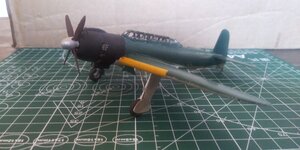
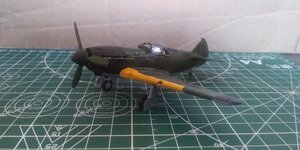
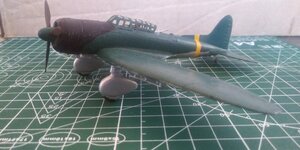
Almost finished with all of the painting. I have worked on and off on them. The is the first year I have been on schedule with what I wanted to do. The Lagg-3 and Nakajima B6N2 are disappointments for me. Lots of bad fits and headaches all the way around, The Ki-30's are gorgeous. Despite being short run kits, they go well together as long as you pre-drill holes for wings to fit into the fuselage. The Japanese service Hurricane Mark IIs are from Revell and Hobbyboss. The Revell was superior to the Hobbyboss version in every respect. All of the float planes were fun to build. My eyes are not what they used to be, so they all need some finish and I haven't attached any antennas or long skinny breakables. I do need some advice for the decals. What do I need to apply first and in what order should I proceed? Decals I have plenty of, but I want to make sure I do it correctly so I don't go mucking it up.
 

Attachments

  • 20230815_162848_HDR.jpg
    20230815_162848_HDR.jpg
    646.6 KB · Views: 20
  • 20230815_162935_HDR.jpg
    20230815_162935_HDR.jpg
    810.1 KB · Views: 20
  • 20230815_162959_HDR.jpg
    20230815_162959_HDR.jpg
    824.4 KB · Views: 21
  • 20230815_163125_HDR.jpg
    20230815_163125_HDR.jpg
    711.4 KB · Views: 21
  • 20230815_163150_HDR.jpg
    20230815_163150_HDR.jpg
    840.5 KB · Views: 20
  • 20230815_163241_HDR.jpg
    20230815_163241_HDR.jpg
    791.2 KB · Views: 19
  • 20230815_163307_HDR.jpg
    20230815_163307_HDR.jpg
    758.8 KB · Views: 21
  • 20230815_163422_HDR.jpg
    20230815_163422_HDR.jpg
    859.6 KB · Views: 22
  • 20230815_163534_HDR.jpg
    20230815_163534_HDR.jpg
    746.7 KB · Views: 20
  • 20230815_163626_HDR.jpg
    20230815_163626_HDR.jpg
    796.8 KB · Views: 17
  • 20230815_163715_HDR.jpg
    20230815_163715_HDR.jpg
    770.8 KB · Views: 18
  • 20230815_163737_HDR.jpg
    20230815_163737_HDR.jpg
    866.8 KB · Views: 18
  • 20230815_163815_HDR.jpg
    20230815_163815_HDR.jpg
    826.4 KB · Views: 19
  • 20230815_163827_HDR.jpg
    20230815_163827_HDR.jpg
    890.1 KB · Views: 18
  • 20230815_163441_HDR.jpg
    20230815_163441_HDR.jpg
    794.7 KB · Views: 18
Nice batch of aircraft. As for decals, I usually start with the ones that need lining up on either side of the fuselage, vertical fin and wings, in other words the big ones. Then onto the small detail ones. If you don't mind me saying, it looks like most of you builds may need a bit of gloss added before you decal, this way the decals should sit better and not leave spots of silvering behind them, this often happens when decals are applied to a dull surface. If spraying on the gloss, cover the clear parts first otherwise they may become hazy. :thumbright: :D
 
Does it matter what kind off gloss? Should I apply something on the decals after they are placed on the aircraft, some kind of finish?
 
Does it matter what kind off gloss? Should I apply something on the decals after they are placed on the aircraft, some kind of finish?
You often hear the guys on here talk of "Future" floor polish that would give a good shine on the model, but sadly that is no longer available to many of us. I would stick with one of the many types specifically manufactured for the modeller I believe all the paint manufactures make it and it would usually come in gloss, semi-gloss (silk) or Matt, currently I'm trying the SMS Clear Gloss, but this is an Aussie brand. As for the decals, do you have a decal application fluid, something like Microsoft Set and Microsoft SOL. The first is applied to the area to help the decal set and the second can be used if applying the decal in an awkward place such as over a bump, it softens and can stretch the decal into place. A light brush of ether solution over the decal helps settle it. Hope this helps.

Once you have the decals placed and they have had a good 24hours to dry, you can give them a spray with the one of those already mentioned, gloss, semi-gloss (silk) or Matt, depending on your finish preference. I use a floor polish which can be brushed or sprayed and comes out very dull, almost Matt. But if you have never done this before with a floor polish, check the product out on a dummy kit first to se how it turns out. :thumbright: :D
 
Last edited:
You often hear the guys on here talk of "Future" floor polish that would give a good shine on the model, but sadly that is no longer available to many of us. I would stick with one of the many types specifically manufactured for the modeller I believe all the paint manufactures make it and it would usually come in gloss, semi-gloss (silk) or Matt, currently I'm trying the SMS Clear Gloss, but this is an Aussie brand. As for the decals, do you have a decal application fluid, something like Microsoft Set and Microsoft SOL. The first is applied to the area to help the decal set and the second can be used if applying the decal in an awkward place such as over a bump, it softens and can stretch the decal into place. A light brush of ether solution over the decal helps settle it. Hope this helps.

Once you have the decals placed and thy have had a good 24hours to dry, you can give them a spray with the one of those already mentioned, gloss, semi-gloss (silk) or Matt, depending on your finish preference. I use a floor polish which can be brushed or sprayed and comes out very dull, almost Matt. But if you have never done this before with a floor polish, check the product out on a dummy kit first to se howe it turns out. :thumbright: :D
Thank you for the information. I have read up on it before, but it seemed very confusing to me. I built 15 in 2020, 17 in 20221, 0 last year and 15 this year. I haven't applied decals to any. I wanted to make sure I did it right and very glad I waited. Being on this forum has been helpful and allowed me to meet some great gents. I have the Set and SOL. I was looking at some brands for the varnish, but haven't decided yet.
 
Another little tip for you Jesse. If you have had decals sitting around since 2020 or so and particularly if some of the kits you have built were old or are old, the decals may have become very brittle and could fracture on application. I would suggest you also paint the decal sheets with a couple of coats of Microscale Liquid Decal Film. As suggested this covers the decal in a thin film which adheres to the decal and hopefully prevents the cracking or fracturing. It may also be prudent to cut very lightly around and closeish to the decals, thus cutting through the film that has set between decals, this can then be washed away from the surrounds of the decal as you settle the decal down on the model. :D
 
Not going to let bench time slip away.
Opened the box of the Academy 1/48 P-40C, #7 aircraft.
Ack. What a basic kit. As I posted, so glad I didn't use this one for GB59.
I will be painting the inside of the canopy Flat clear, no detail in this one.
Nice looking biga$$ box, but don't let That fool you.
Posting a pdf of the instructions, just because.
 

Attachments

  • 264325-89-instructions.pdf
    12.3 MB · Views: 15

Users who are viewing this thread

Back