net_sailor
Senior Airman
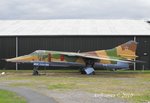
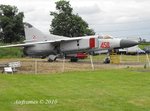
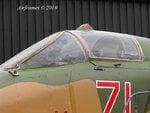
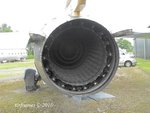
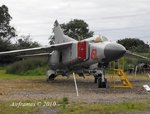
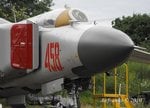
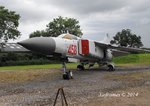
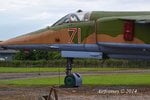
The main external difference between the Mig-23M and MF was a little frame under the periscope on the top of canopy glass. This conversion is very easy to make. All you need is an masking tape and one drop of paint:

About the cockpit - I can confirm Russian blue-green interior colour on Polish MiG-s.
About the cockpit - I can confirm Russian blue-green interior colour on Polish MiG-s.