N4521U
Colonel
User name: N4521U
First name: Bill
Scale: 1/72
Manufacturer: Italeri No. 1425 F-35B Lightning II
Extras: At the build start I have none.
Previous S2F @ 1/48th Kittyhawk kit failure for further reference:
 ww2aircraft.net
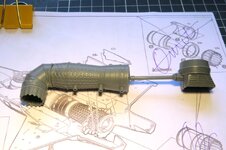
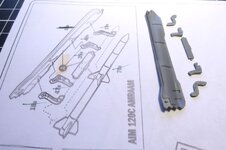
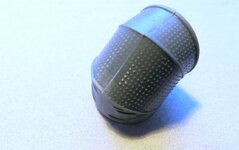
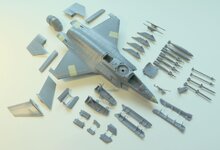
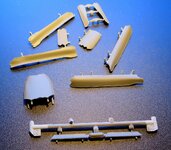
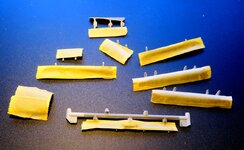
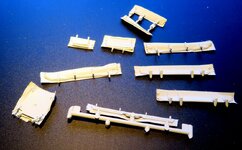
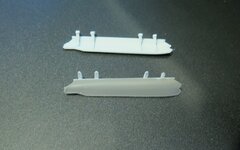
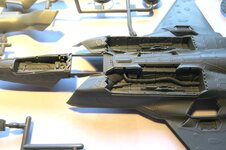
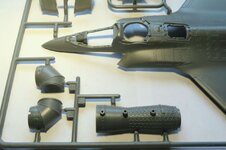
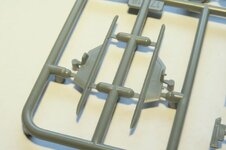
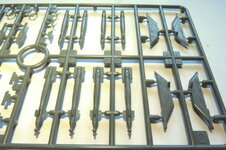
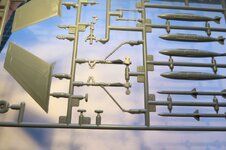
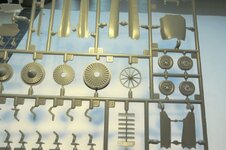
After much research as I am bent on building one of these bloody things. Previous build attempt will attest to that. The Italeri kit at 1/72nd seemed to get good reviews. Upon opening the kit box it is in fact astounding the detail Italeri got in 1/72nd. For one thing, the outboard rocket pylon is CORRECT in being slanted toward the wing tip!!!!! I had to scratch build this in the KH kit after too much research! Some kit photos. There are some "flow" marks but seem to be a minimum and tolerable! Looking forward to this one and would like to finish by GB59!!!!! Oh, the Canopy is molde with the Gold tint!!!!! Imagine that.
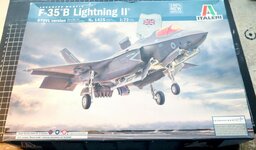
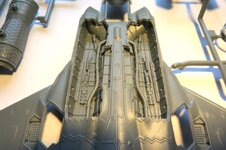
 Off I go!
First name: Bill
Scale: 1/72
Manufacturer: Italeri No. 1425 F-35B Lightning II
Extras: At the build start I have none.
Previous S2F @ 1/48th Kittyhawk kit failure for further reference:
1/48 F-35B VMFA-211 Wake Island Avengers
These guys are the descendants of the Marine Sqn on Wake Island 1944. I did a pair of F4F's flown by Carl Davidson GB-41. Thought it would be a nice addition to my cabinet. If size matter, wow, what a diff in both!!!!! Done some assembly already, post when I do some painting. Re-posting below...
After much research as I am bent on building one of these bloody things. Previous build attempt will attest to that. The Italeri kit at 1/72nd seemed to get good reviews. Upon opening the kit box it is in fact astounding the detail Italeri got in 1/72nd. For one thing, the outboard rocket pylon is CORRECT in being slanted toward the wing tip!!!!! I had to scratch build this in the KH kit after too much research! Some kit photos. There are some "flow" marks but seem to be a minimum and tolerable! Looking forward to this one and would like to finish by GB59!!!!! Oh, the Canopy is molde with the Gold tint!!!!! Imagine that.


 Off I go!
