**** DONE GB-51 1/48 F9F-8B Cougar - No Propellers

Ad: This forum contains affiliate links to products on Amazon and eBay. More information in Terms and rules

N4521U

Colonel
14,107
6,649
Nov 1, 2009
Miranda, NSW
User Name: N4521U
Name: Bill
Category: Advanced
Kit: Kittyhawk F9F-8(B) Cougar
Scale: 1/48th
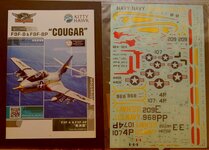
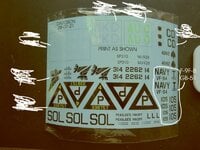
Accessories: Custom decals as per Yorktown image Added the decal sheet

This image comes by way of internet official Navy photo.
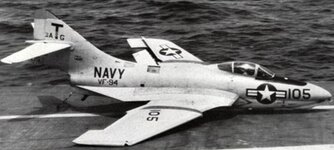
GB-51-F9F-8_0.jpg
Following my usual Yorktown or Davidson pilot builds I offer this little jewel F9F-8 Cougar operating off the USS Yorktown, CVA10, in the 50's.
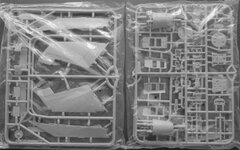
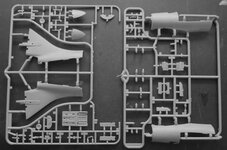
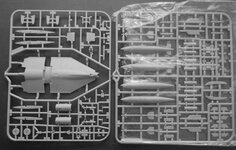
Not building as a crashed unit however. The kit seams to be a nice one with plenty of parts. Am looking forward to seeing Just how it goes together!!!
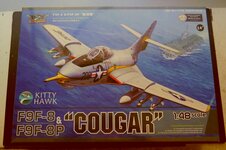
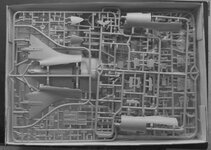
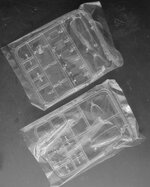
GB-51-F9F-8_1.jpgGB-51-F9F-8_2.jpgGB-51-F9F-8_3.jpgGB-51-F9F-8_4.jpgGB-51-F9F-8_5.jpgGB-51-F9F-8_6.jpgGB-51-F9F-8_7.jpgGB-51-F9F-8_1 Dcls.jpg
 
Last edited:
Well, the things we find out!
I been seeing photos of the F9F-8 with that Narwhale needle sticking out the front but the photo I have above in post one, has none!
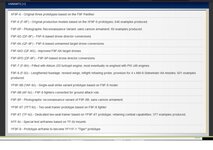
So snooping around I have found the F9F-8B was a change to ground support roles omitting the air to air refueling probe!!!! Ahah...
So mine is actually a B version. I have changed the heading!!!!!!
F0F-9B variants.jpg
 
Well, I for one will be interested in seeing how you fit all of those parts in that bird? Good thing it is 1/48. A very 'classic' looking one, in my opinion. She will display well with your guidance.
I coitinly hope.......

So starting with the cockpit, as usual.
It come with PE IP and decals. So I thought I would try something different.
I brushed on some floor polish and Then applied the decal with Super solution so I could press the decal into the etched instruments.
I recconed adding paint would fill too much and lose definition. Seems to work okay?????
GB-51-F9F-8_8.jpg
 
Great idea Bill! Wondering if I should try that on a couple of kits I have with similar PE? Its a little hard to tell from the photo but the decals seem to have snuggled down into the recesses OK. One more item for the bag of tricks - thanks!!
 
Great idea Bill! Wondering if I should try that on a couple of kits I have with similar PE? Its a little hard to tell from the photo but the decals seem to have snuggled down into the recesses OK. One more item for the bag of tricks - thanks!!
I failed to mention I applied Future over the decals as well.
Did the same Future coat on the belts and will paint the color on that,
since paint doesn't like bare ass brass!!!!!!
 
I need some help with this Cougar!

Primarily the canopy actuator behind the pilots seat! The parts in my kit are gooonnnnne and I just can't seem to find Anything that can help on the www.? Just things shot thru the glass is crap. Hoping someone has something from a book.
GB-51-F9F-8_11.jpg


Cheers, Bill
 
Last edited:
And so it goes with this Kittyhawk kit, it's losing it's luster with me.
The plastic is very soft, softer than what I've been working with.
The fits? Well lets just say it's giving me a bit of the 5h!t5.......!
Attaching points to the sprue are huge and at parts joins so I have to be careful cleaning up.
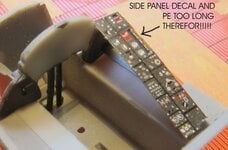
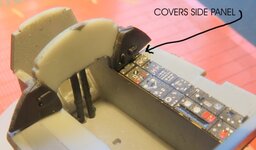
This is a for instance, the PE for the cockpit side panels fit the decals okay, but!
Seems the PE and decals are too long, or I am not doing something right!
Instructions show the IP in this location, photo 2, but why would it overlap the panel?
I don't know.....................!
GB-51-F9F-8_9.jpgGB-51-F9F-8_10.jpg
 

Users who are viewing this thread

Back