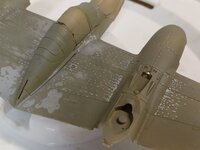
Got a little bit done this weekend, booms are both assembled but not painted yet so no sense photographing them yet. I did some more on the wing chipping around the rivets, found a 1mm Molotov chrome pen works perfect for simulating rivets with chipped off paint, and to clean up the round edges of the original chips. Once I weather and dull coat it the chrome will look the same as the aluminum, a dull silver.
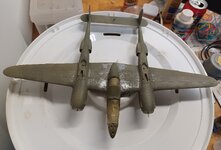
Got quite a bit done this week, all booms and tail installed and a base of Model Master faded olive drab. As usual with the Tamiya kits, booms fit perfectly to wings, all is square, and enough weight in the nose to keep it balanced. Found that my paint dehydrator lid has a notch in the handle that holds the plane perfectly, there are two landing gear arms that stick out and could break off if it sat flat on the table.
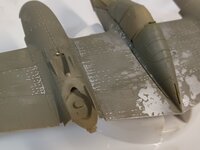
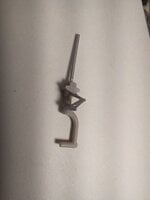
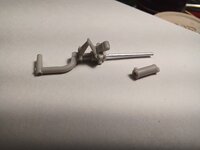
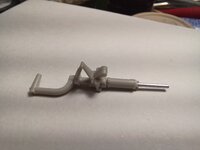
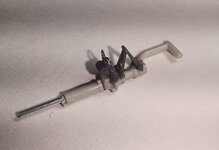
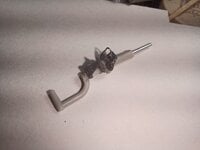
A little bit of extra work was done with the nose gear. I'm going for the movable nose wheel as they are often seen towards to the side on Lightning photos. So step 1 was to carefully drill down the center of the landing gear, using several drill sizes until I got a 1mm hole that was close to centered. I did the upper half first as my drills are not long enough to go all the way down the gear leg. Then I cut the gear in 2 right above the tank but below the notch that C-48 attaches to. Then I drilled out the lower part until the drill just poked through the lower plastic. Then a 1mm rod was glued to the bottom half, allowing the top half to fit on and rotate. Leave a long enough piece of rod to fit into a 1mm hole drilled into the resin landing gear piece in the Eduard nose bay.
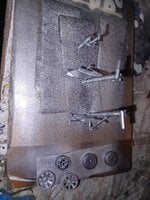
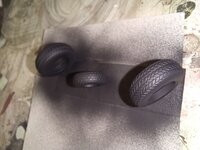
Added some nice details, 3d printed torque arm and hydraulic tank and cylinders. Master files from Tomasz Gronczewski, I have to give him credit for providing free files to download for these parts and tires as well.