36feet10inches
Staff Sergeant
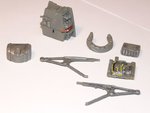
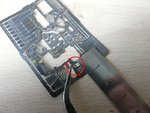
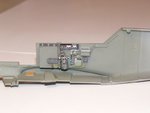
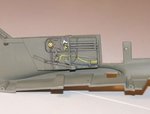
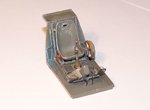
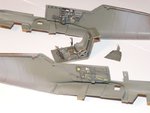
Looking great!
Follow along with the video below to see how to install our site as a web app on your home screen.
Note: This feature may not be available in some browsers.
Ad: This forum contains affiliate links to products on Amazon and eBay. More information in Terms and rules
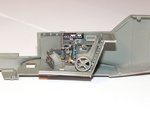
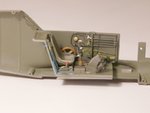
Wayne I tried a mix of RLM 02 to your formula and with a slight tweak (grey rather than white) it seems very close to my printed references, so thanks for that. Will try to post a 'control' photo of a swatch against a reference next time.