**** DONE: GB-58 1/48 F6F-3N - Night Fighters all Eras

Ad: This forum contains affiliate links to products on Amazon and eBay. More information in Terms and rules

Bill I just went through all 7 pages. Man you are killing it! Super nice stuff.
Thank you for your kind words. When I was 9, my grandparents gave me a Transister radio. I had it a couple of days before I tried to find how it worked! I was a mechanical designer drafter for many years. This is an enjoyable affliction with me.
 
Last edited:
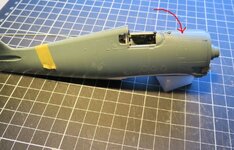
Now it's Work. Fuselage!
Attached only the nose. The rest is a
bit fiddly and didn't want to create
a monster.
GB58-56.jpg
After it set I finished it off and glued
up the back end, top and bottom.
I installed the already painted tail
wheel assembly, less the wheel.
GB58-57.jpg
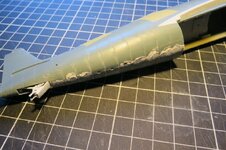
The belly seam is the worst. I had to
add a couple of wedges at the big
opening to get it even across. Then
ugg, real plastic!.
GB58-58.jpg
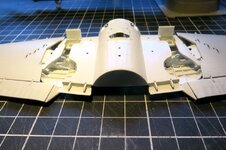
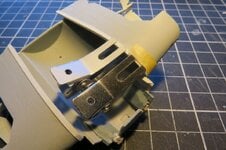
This is the center section, painted
along with the innerds of the wing swing.
GB58-59.jpg
working working!
 
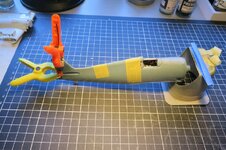
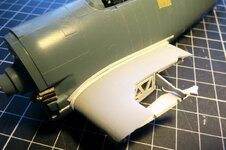
Thanks guys. Today is tedium! Adding one leg of the angle along the seam of wing to fuselage.
Them Granny Clamps do work a treat. This part is .4mm x 1.5mm along top of wing.
At the fuselage it will be .4 x 1.0mm, I think it will take the flat bend a bit better.
GB58-60.jpg
 
Thank you all!
I think it's because I have a Large Scale Planes example to follow.
Then I go bonkers and do other stuff as well.
So todays offerings to the building gods.
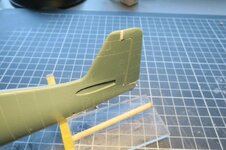
Since the rudder is separate from the vert stab,
I figured I should round the front edge, and
the bit at the top has a big gap in period photos.
GB58-63.jpg
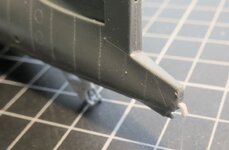
Then of course the tail hook is a bit lame
in the kit. So I made my own!!!!!!!!
GB58-64.jpg
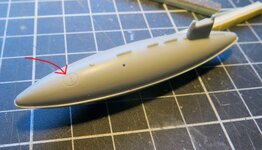
Now this looks like the weirdest gas cap!
There was a very early version of the tank,
the seam was top to bottom, left and right sides.
GB58-65.jpg
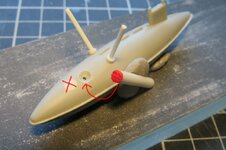
So I fashioned my own on the end of rod.
Drilled out a hole for it, and then promptly
filled it, just an out of place place! So I
drilled another more likely location.
I'll just cut the top off the rod, after painting
and glue the bugger in! Done for the day!
Oh and made a couple of rods for stabilizing.
GB58-66.jpg
 

Users who are viewing this thread

Back