- Thread starter
- #21
hawkeye2an
Staff Sergeant
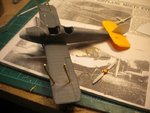
Very neat and clean
neat and clean?
Looks like it's been beat with the ugly stick at this point, should polish up nicely in the end though.
Follow along with the video below to see how to install our site as a web app on your home screen.
Note: This feature may not be available in some browsers.
Ad: This forum contains affiliate links to products on Amazon and eBay. More information in Terms and rules
Very neat and clean

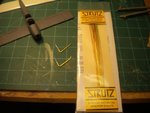
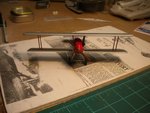
Interesting, haven't heard of STRUTZ before..?
Turned out good despite the challenges. Could you describe the strip tank thingy and what you use as the fluid?