- Thread starter
- #81
Matt308
Glock Perfection
Is that a wonderful trick or what?!!? ")
Follow along with the video below to see how to install our site as a web app on your home screen.
Note: This feature may not be available in some browsers.
Ad: This forum contains affiliate links to products on Amazon and eBay. More information in Terms and rules
....Don't forget, being an older kit, test those decals Matt just in case they don't want to stay together, maybe a coat of clear to be sure?


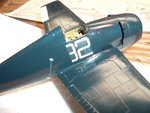
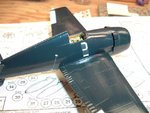
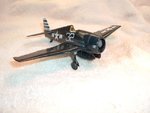
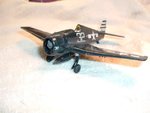
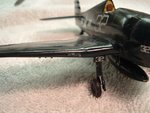
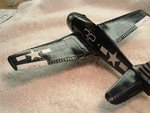
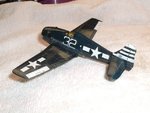
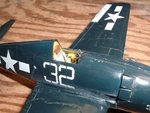
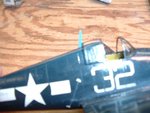
Oh, and Wurger, regarding the large 32... yes that is appropriate best I can tell from the pics of the actual 32 that I have seen. I don't know what possessed the US Navy in 1945 (maybe carrier deck ops), but this bird is literally bleeding the number 32 all over her. Let's count:
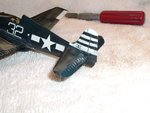
Big 32 on the fuselage sides below the cockpit = 2
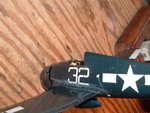
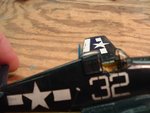
Little white 32 on each side of the nose cowling = 2
Little black 32 in the lower white band on each side of the tail = 2
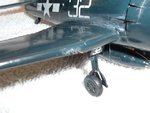
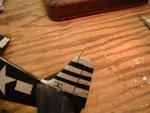
Little white 32 on the front of each landing gear door facing forward = 2
That's eight "32"s. Largest about 5ft tall. Smallest about 8-10 inches tall. You can't miss that she's number 32 that's for sure!!