- Thread starter
- #181
Airframes
Benevolens Magister
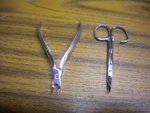
Darn! Where's that Invisiclamp gone......
Follow along with the video below to see how to install our site as a web app on your home screen.
Note: This feature may not be available in some browsers.
Ad: This forum contains affiliate links to products on Amazon and eBay. More information in Terms and rules
Now DON'T get us started on stealth tools !

Now THAT was a Stupid thing to say.........................
s o r r y

On the subject of tools. I have the green putty, it drys do fast for what I am doing. I am in need of a slow drying putty I can fill with. I am doing small gap fills that are a little fussy to do. Any suggestions which putty I should find? Bill
G'day N4521U I have just as of 45 min ago started to experiment with 'Loctite Automotive E-POX-E- RIBBON'. It is a two part epoxy putty that you knead together as well only this one has a two hour working time before it goes hard and I have also softened it to a sticky paste with tamiya Lacquer thinner. The best part is I picked it up from our local 'REPCO' Auto spare part shop for about $10 for almost a lifetime's worth of putty.
Cheers Switcha
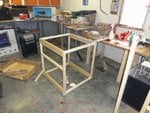
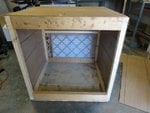
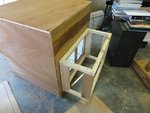
Mine will hook up to my shop vacuum system so no electrics will be on it, except maybe some built in lights.
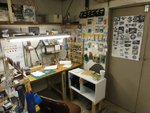
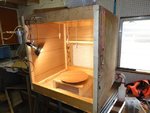
One thing to think about. I run my exhaust fan outside so that it can be turned on well before spraying to remove all the dust from the room. A shop vac kicks up a lot of dust and keeps it moving around. Nothing worse than doing a beautiful paint job and having dust settle on it.
Looks like you're going to be well equipped.
Yeah, I know but I'm not talking a shopvac here. My vacuum system consists of a 2HP vac with canister filter housed in a separate room with a hard-piped collection network in the workshop. No dust is kicked up in the shop.
Looks like you're going to be well equipped.
Yeah, I know but I'm not talking a shopvac here. My vacuum system consists of a 2HP vac with canister filter housed in a separate room with a hard-piped collection network in the workshop. No dust is kicked up in the shop.
Mine will hook up to my shop vacuum system so no electrics will be on it, except maybe some built in lights.