- Thread starter
- #281
Skyediamonds
Staff Sergeant
- 1,362
- May 26, 2018
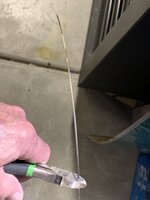
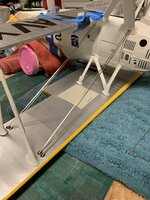
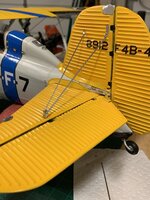
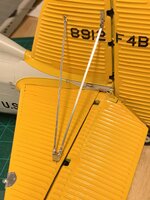
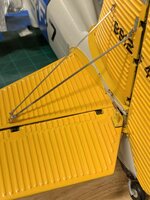
Each section of wire was carefully measured & cut to slightly oversized length. I figured I could always cut the wire shorter but cannot possibly " grow" or stretch the wire longer.
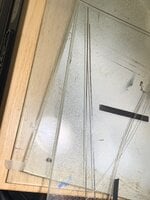
The wires came carefully wound up in a large circle.
When satisfied with the lengths, I straightened them out by simply running them through my thumb & fingers & bending the wire opposite to the original bend until I was happy with the results. Sometimes I had to " over bend" such that when the tension was relaxed, the wire resumed a more straighten look, if this makes any sense.
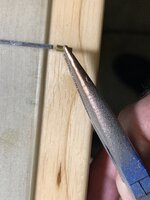
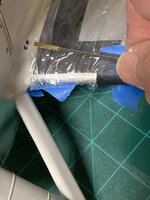
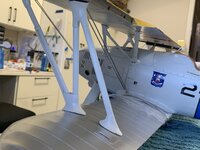
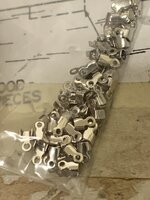
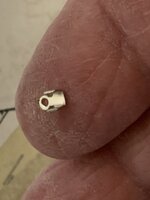
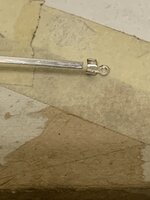
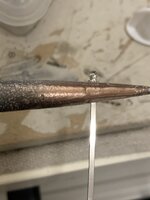
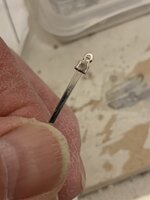
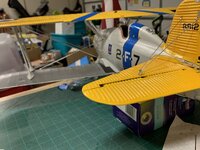
I then cut a short length of brass tubing & slipped the wire inside using Gorilla epoxy. By using this epoxy instead of soldering, I had a few minutes to work out the final adjustments of lengths.
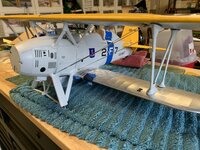
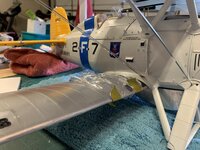
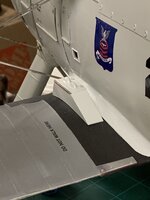
The ends were then epoxied into the predrilled holes of the fuselage & wings.
The wires came carefully wound up in a large circle.
When satisfied with the lengths, I straightened them out by simply running them through my thumb & fingers & bending the wire opposite to the original bend until I was happy with the results. Sometimes I had to " over bend" such that when the tension was relaxed, the wire resumed a more straighten look, if this makes any sense.
I then cut a short length of brass tubing & slipped the wire inside using Gorilla epoxy. By using this epoxy instead of soldering, I had a few minutes to work out the final adjustments of lengths.
The ends were then epoxied into the predrilled holes of the fuselage & wings.