Navigation
Install the app
How to install the app on iOS
Follow along with the video below to see how to install our site as a web app on your home screen.
Note: This feature may not be available in some browsers.
More options
You are using an out of date browser. It may not display this or other websites correctly.
You should upgrade or use an alternative browser.
You should upgrade or use an alternative browser.
What's on The Workbench (23 Viewers)
- Thread starter Heinz
- Start date
Ad: This forum contains affiliate links to products on Amazon and eBay. More information in Terms and rules
More options
Who Replied?A4K
Brigadier General
Good stuff mate! Nice to see some Japanese types for a change!
Viking1066
Major
Thanks! What makes it better are all the available decal options!Good stuff mate! Nice to see some Japanese types for a change!
Viking1066
Major
Whoops.
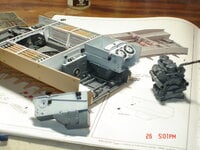
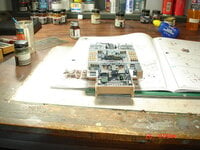
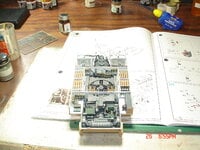
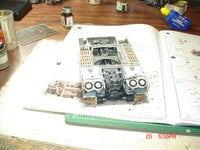
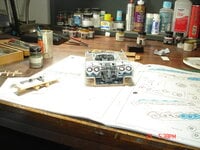
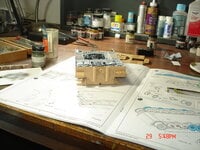
The Mg-42 bags added,engine and radiators I got to say the engine fit was perfect!!The instructions have you install the upper hose before going into the bay the hose fit the cutout on the r/wall and landed at the rad!!RFM does some Nice engineering their has been a couple of quirks but blame that on me and were easy to overcome.I have already test fitted the lower deck of the gun turret to the deck of the transmission area all looks good to go.I go back to work tomorrow so progress will be slower.I have got to help the son find a truck to move his stuff to New Mexico on Wednesday but do have another holiday coming the week after use it or loose it. 
Attachments
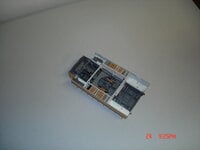
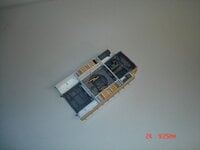
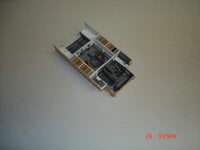
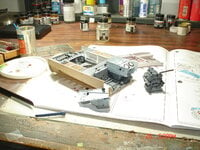
The engine compartment is finished and sealed!The little transmission that I had to assemble while easy to build was a PIA to install not much of a locating pin for something hanging.I would advise anyone that does this kit drill/pin the part save some time.The back plate aligns perfectly exhaust wise to the engine and outside can't say enough about the engineering that RFM did!!Some pics ....
Are you sure that's the Tiger I but not the Irobot Roomba?
PlasticHero
Senior Airman
This is the "little project" that I mentioned in recent purchases. Bandai TIE Fighters in 1/144. They are small, cheap, good detail, good fit and no interior to deal with. All the parts are keyed so you can't put anything together wrong. Perfect for a weekend build party with a "beginner modeler".

I had a little brass rod cutoff that fit perfectly in the peg hole. Both the standard and Darth's fighter are in the box.

I painted them a slightly bluish gray and the panels are a bluish black. I wanted a cold feel to the craft. 'You could get away with just painting the panels black. There are stickers, not decals for some panels and canopy but I didn't use them.

I'm on the sunny side of my porch taking these photos. Dab of clear red on the "guns".

Here I photoshopped the brass rod out of the pic. There is no weathering since I figured that they would be elite units and to contrast with the next chapter of this project. Total time was prob about 6 hours over 4 days. A little black wash in some vents and grills and I called it a day. Up next "soon" is Luke's Starfighter. It has a more complex paint scheme and is very scruffy looking. The doc has cleared me to go back to my 2 day a week driving job so I'll soon be back in Corvettes and Lambos.
I had a little brass rod cutoff that fit perfectly in the peg hole. Both the standard and Darth's fighter are in the box.
I painted them a slightly bluish gray and the panels are a bluish black. I wanted a cold feel to the craft. 'You could get away with just painting the panels black. There are stickers, not decals for some panels and canopy but I didn't use them.
I'm on the sunny side of my porch taking these photos. Dab of clear red on the "guns".
Here I photoshopped the brass rod out of the pic. There is no weathering since I figured that they would be elite units and to contrast with the next chapter of this project. Total time was prob about 6 hours over 4 days. A little black wash in some vents and grills and I called it a day. Up next "soon" is Luke's Starfighter. It has a more complex paint scheme and is very scruffy looking. The doc has cleared me to go back to my 2 day a week driving job so I'll soon be back in Corvettes and Lambos.
A4K
Brigadier General
Nice one mate! I have alot of these kits myself 
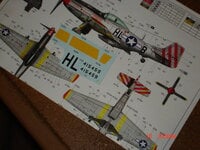
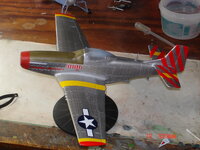
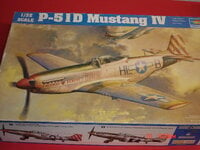
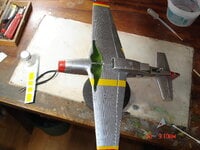
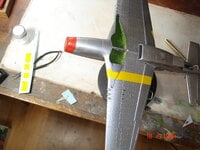
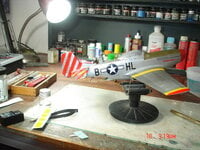
A Trumpter P-51 1/32 "American Beauty" minus the gunbays and engine made the kit fit much better no filler on this one and one of my better NM finishes.The problem is the instructions on painting and decal usage,design and placement to put it mildly they suck!The box art is accurate.
Attachments
fubar57
General
Very colourful
Thks Geo the red on the nose should end before the exhaust not into it thus the the name was pushed back the wingtip colors do not fit no were close to being right.The yellow stripes on the bottom some are short what is number for the leading edge is the landing flap piece it's a cluster.
Users who are viewing this thread
Total: 24 (members: 0, guests: 24)

