1/24 Grumman F3F-2 - From WW1 to WW2 GB

Ad: This forum contains affiliate links to products on Amazon and eBay. More information in Terms and rules

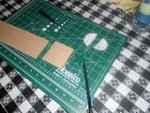
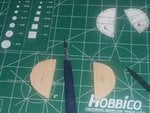
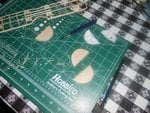
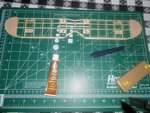
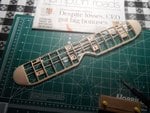
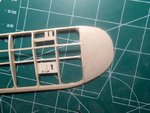
Got to work on the upper wing-tips tonight. The series of photos shows the progress from marking the balsa from the patterns, rough cutting with a coping saw and sanding to the right shape. Twas then I noticed the wing-tips were 1/8th inch too thin, so I had to cut two blanks from a sheet of 1/8" balsa, glue it on (to the bottom) and sand a bit. Last photo shows the wing tips attached to the wing. Will let them dry overnight, then sand to shape on the morrow.
Thanks for looking in...

Charles
 

Attachments

  • DSCN0077.JPG
    DSCN0077.JPG
    125.6 KB · Views: 96
  • DSCN0078.JPG
    DSCN0078.JPG
    85.5 KB · Views: 88
  • DSCN0079.JPG
    DSCN0079.JPG
    149.1 KB · Views: 113
  • DSCN0080.JPG
    DSCN0080.JPG
    121.7 KB · Views: 96
Give us more...! :D

And more you shall have. My TV, home phone and internet was down from Tues. evening til Wed. afternoon, so I had time to do some sanding and scraping on the wing tips. Seems we had a power surge and it took out the Verizon box outside.

Here's where we are.....

Charles
 

Attachments

  • DSCN0084.JPG
    DSCN0084.JPG
    113 KB · Views: 77
  • DSCN0085.JPG
    DSCN0085.JPG
    90 KB · Views: 116
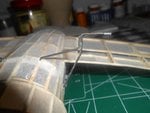
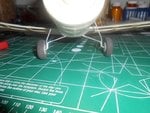
Worked on the landing gear, today, making one of the cross braces. Believe me, fine soldering is not my forte !
I used a small pair of vice grips to hold the wire in place and to act as a heat sink. Didn't want to burn the
airplane !

Charles
 

Attachments

  • DSCN0094.JPG
    DSCN0094.JPG
    63.7 KB · Views: 86
  • DSCN0095.JPG
    DSCN0095.JPG
    88.6 KB · Views: 82
Last edited:

Users who are viewing this thread

Back