Airfix 1/24 scale Bf109E.....or a bed of thorns (1 Viewer)

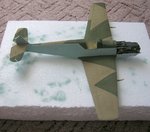
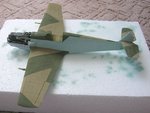
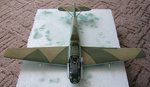
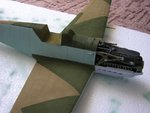
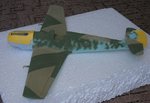
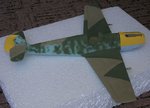
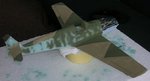
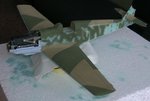
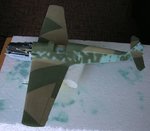
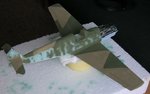
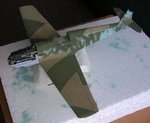
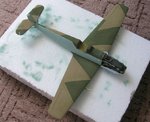
The compressor must have gotten the wind up and started working quite good. So I have applied the second coat of the RLM02 and removed masking when it was dried of course. At the stage the model painting looked quite nice as I achieved an interesting effect of lightened panels and darker areas going along rivet lines.
 

Attachments

  • camo3.jpg
    camo3.jpg
    113.9 KB · Views: 331
  • camo3a.jpg
    camo3a.jpg
    129 KB · Views: 347
  • camo3b.jpg
    camo3b.jpg
    114.1 KB · Views: 536
  • camo3c.jpg
    camo3c.jpg
    117.9 KB · Views: 338
  • camo3d.jpg
    camo3d.jpg
    94.8 KB · Views: 334
How did you do the darkening effect along the rivet lines? Preshading?


THX Gents..:D

No Glenn it's not the preshading.It's the effect of sanding panels. Because the model was painted with RLM65 overall , the paint became a kind of a surfacer for RLM02 and RLM71. When I was sanding these panels I was trying to do it mildly.As a result the first layer of the RLM02 got lighter tonality because of the RLM65 background. I didn't sand these rivet lines because I didn't want to loose them. The second coat of RLM 02 was applied with the paint slightly lightened with a white one and thinned more that the first one.
 
And the first step in mottling....I airbrushed RLM71 free-hand. Note please, at the areas where swastika should be I sticked squares of thick cardboard slightly larger than these markings.In the two shots the masking has already been removed.
 

Attachments

  • cam4e.jpg
    cam4e.jpg
    96 KB · Views: 383
  • cam4f.jpg
    cam4f.jpg
    106.3 KB · Views: 380
Last edited:
That's very kind of you Gents..:)

But I wasn't glad with that.And as the next step I corrected the mottling a little bit.
 

Attachments

  • cam5d.jpg
    cam5d.jpg
    72.6 KB · Views: 338
  • cam5c.jpg
    cam5c.jpg
    80.4 KB · Views: 338
  • cam5b.jpg
    cam5b.jpg
    99.7 KB · Views: 350
  • cam5a.jpg
    cam5a.jpg
    80.2 KB · Views: 825
  • cam5.jpg
    cam5.jpg
    100.7 KB · Views: 364
THX fellas :)

Where is Harry? Here something for him...
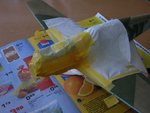
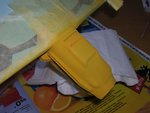
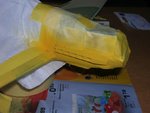
The underside of the Bf109 nose was painted yellow like the engine top cowling. Applying of a few colours, I mean yellow, white and red for instance is often a pain in ( you know where ). But there is a way that lets us to do quite easy. The main problem is a backgroud on that a paint has to be applied. A nice solution for that is a coat of another paint or gloss ( semi-gloss ) dope. For example the rudder for the model had been airbrushed with a matt white before I applied the yellow gloss enamel Humbrol 69. For painting of the nose I used matt Humbrol 154 and gloss Humbrol 69. I used the Humbrol 154 as a primer. Somebody can ask why in that way .Alll matt oil enamels stick to a surface very good and better than acrylic water paints.These make surfaces matt and let paints cling to a surface better. It also prevents against peeling. In addition a can of Humbrol enamel is usually cheaper than most of primers.

But back to painting.Of course I have masked all holes and surfaces around firstly. And then airbrushing the Humbrol 154 colour.
 

Attachments

  • cam6.jpg
    cam6.jpg
    94.6 KB · Views: 314
  • cam6a.jpg
    cam6a.jpg
    89.3 KB · Views: 312
  • cam6b.jpg
    cam6b.jpg
    89.2 KB · Views: 316

Users who are viewing this thread

Back