al49
Tech Sergeant
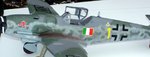
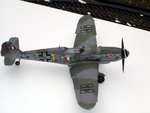
Looks very, very nice, well done!
It's convincing me that I've to do a 109 soon
Alberto
It's convincing me that I've to do a 109 soon
Alberto
Follow along with the video below to see how to install our site as a web app on your home screen.
Note: This feature may not be available in some browsers.
Ad: This forum contains affiliate links to products on Amazon and eBay. More information in Terms and rules

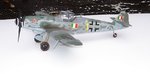
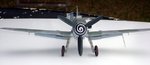
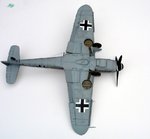
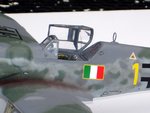
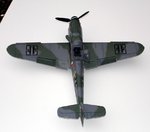
Wayne or Albert do you guys suspect the trim tabs were red?
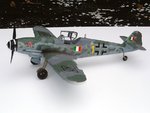
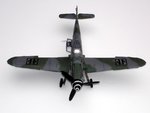
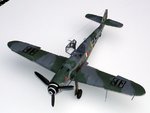
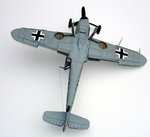
 .This is the first time I have airbrushed the exhaust stain and it looks better than my dusting method.I used a 1/2 clear gloss with 1/2 of paint(rubber black) for the stain.