- Thread starter
- #201
Airframes
Benevolens Magister
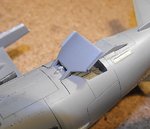
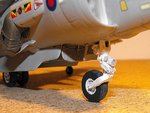
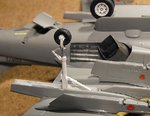
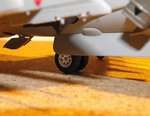
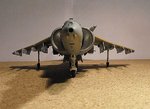
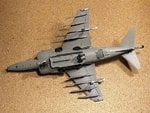
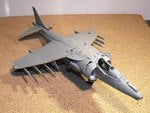
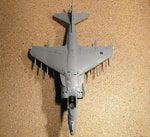
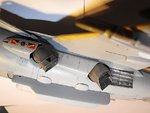
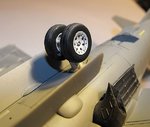
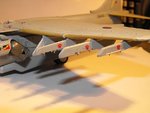
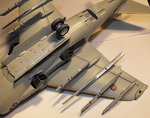
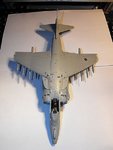
Thanks Andy and Evan. Just about to spray the semi-matt clear coat, then fit the pylons and main gear. Hope to get some more bits added, and detail painting done tomorrow - pics then.
Searched all over town today for Johnsons Klear (Future), in it's current form - can't find any anywhere! Darn, just about to run out of my last original-formula bottle!
Searched all over town today for Johnsons Klear (Future), in it's current form - can't find any anywhere! Darn, just about to run out of my last original-formula bottle!
")