Airframes
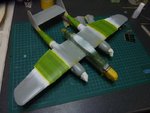
Benevolens Magister
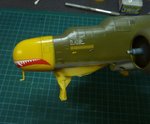
Nice work Peter. Looking forward to the psst, as Bill would say.
Follow along with the video below to see how to install our site as a web app on your home screen.
Note: This feature may not be available in some browsers.
Ad: This forum contains affiliate links to products on Amazon and eBay. More information in Terms and rules
Nice work Peter. Looking forward to the psst, as Bill would say.
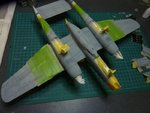
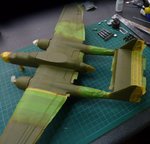
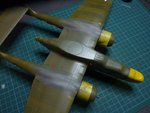
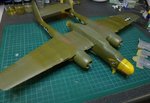
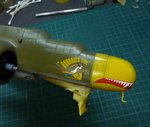
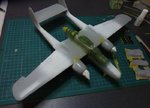
too late to be of reference for this build but - what is variant is it?
http://31.media.tumblr.com/00f304d56899b8a81a591328381e00d1/tumblr_ms5omkUkxc1roe9r1o1_1280.jpgView attachment 241594