N4521U
Plastic Pirate
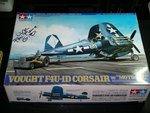
F4U-1D Corsair USNASLVK - Your Favorite Aircraft of All Time GB
User Name : N4521U
Category : Somewhere lost in the middle
Entry : F4U-1D Corsair U.S. Naval Air Station Livermore Ca. (LVK) 1950"s
Kit : 1/48 Tamiya with towmotor
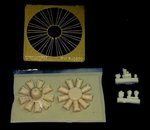
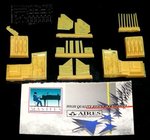
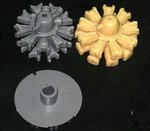
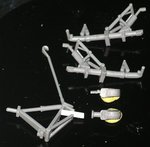
Accessories : Cockpit kit, Gun bay, control surfaces, engine, prob some scratch built,
otherwise straight out of the box.
I have posted in another thread a classmate of mine, I was maybe 9 years old, in the 50's dad flew F4U's out of Alameda NAS. Swimming at the base pool one day these big blue Corsairs were taking off overhead. They were the first warplanes I was ever aware of, and of course became the one I always looked for in the skies over the S.F. bay area. I lived in Livermore in the 70's to 90's and was aware the Livermore National Lab facility was a flight training center during WWII, but did not realize F4U's were still using the field into the 50's. I found the picture of the FG-1D on the internet. This is my GB project, to build this Corsair. The lettering I believe, if the Hasegawa 1/72 kit is true in color, was yelow gold. I will have to jump thru hoops, again, to get these as decals for this bird.


