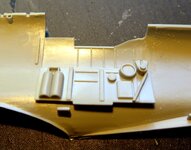
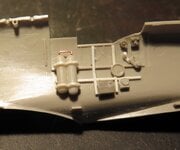
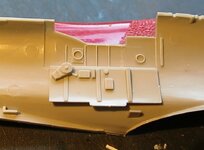
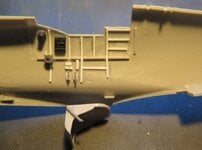
N4521U
Plastic Pirate
Username: N4321U
First name: Bill
Category: Advanced
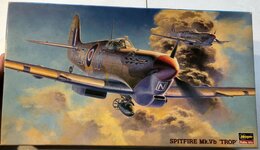
Manufacturer: Hasegawa 09105
Kit snaffeled off Donivamp! Thanks!
Model: Spitfire Mk.Vb TROP
Scale: 1:48th
Extras: Decals from kit and my art from field photo. As per usual, maybe some scratch bldg, Doh!
I swore I would never do two in one build again............ but here I go ............. again!
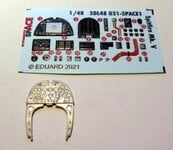
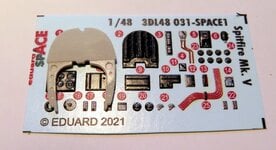
31/08/22 In the mail today, Eduard exhasts, the kits were crap!
This kit was Originally issued as 09104 in 1993 as new tooling,
then as 09105 with new parts. Other versions have followed.
My other build kit is a Tamiya, amazing how different the same planes kits can be!!!
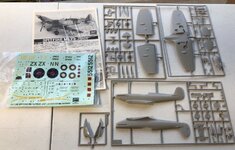
So as per my discussion in my Other Mk,VbT build. this one will be in camo with PM*K markings 126 Sqn.
Same Sqn as my other Mk.VbT. I just thought two camo versions would be interesting.
The art is done in black, the printing will be in Sky. All will reflect codes as done in the field.

Images credit the internet...........
First name: Bill
Category: Advanced
Manufacturer: Hasegawa 09105
Kit snaffeled off Donivamp! Thanks!
Model: Spitfire Mk.Vb TROP
Scale: 1:48th
Extras: Decals from kit and my art from field photo. As per usual, maybe some scratch bldg, Doh!
I swore I would never do two in one build again............ but here I go ............. again!
31/08/22 In the mail today, Eduard exhasts, the kits were crap!
This kit was Originally issued as 09104 in 1993 as new tooling,
then as 09105 with new parts. Other versions have followed.
My other build kit is a Tamiya, amazing how different the same planes kits can be!!!


So as per my discussion in my Other Mk,VbT build. this one will be in camo with PM*K markings 126 Sqn.
Same Sqn as my other Mk.VbT. I just thought two camo versions would be interesting.
The art is done in black, the printing will be in Sky. All will reflect codes as done in the field.
Images credit the internet...........
Last edited:

