Navigation
Install the app
How to install the app on iOS
Follow along with the video below to see how to install our site as a web app on your home screen.
Note: This feature may not be available in some browsers.
More options
You are using an out of date browser. It may not display this or other websites correctly.
You should upgrade or use an alternative browser.
You should upgrade or use an alternative browser.
GB-56 1/48 P-38 F/G - Thunderbolts and Lightnings
- Thread starter dneid
- Start date
Ad: This forum contains affiliate links to products on Amazon and eBay. More information in Terms and rules
More options
Who Replied?Donivanp
Lieutenant Colonel
Looking really good "Dale"
Vic Balshaw
Major General
Even better from the south.Looks good from the north DALE
Good work so far!
- Thread starter
- #125
dneid
Staff Sergeant
Airframes
Benevolens Magister
Beauty !
Donivanp
Lieutenant Colonel
Waiting to come up and meet him
- Thread starter
- #129
dneid
Staff Sergeant
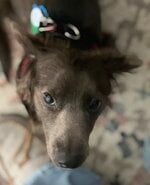
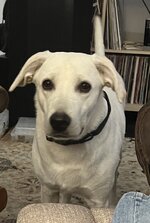
I have not posted in weeks. Forgive me on that. I had to return the rescue Dachshund to the rescue as he was VERY dog aggressive. However, there is a new canine in my life. A friend needed to re-home their 9 month old AKC Lab. So, I have a 70lb "puppy" in my life. Henry had little to no obedience training and that has taken up a couple of weeks. He is doing much better. I still need to work on his loose leash walking and the recall thing ("Come").
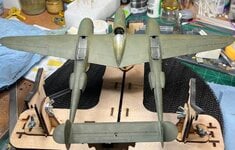
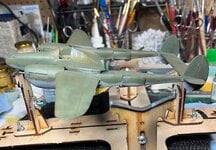
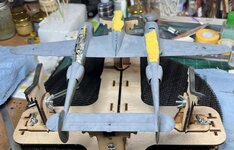
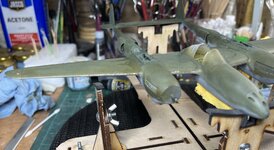
Now that Henry is under better control I am back on the P-38 in earnest. I finally got all the basic exterior color on. Only mistake I made was not installing the turbo "skins". Working on that later today. Overall, I am happy with the paint work to date.
Thanks for stopping in.
Now that Henry is under better control I am back on the P-38 in earnest. I finally got all the basic exterior color on. Only mistake I made was not installing the turbo "skins". Working on that later today. Overall, I am happy with the paint work to date.
Thanks for stopping in.
Attachments
Last edited:
Donivanp
Lieutenant Colonel
Nice to see forward progress on all side. Congratulations on being a new dad!
Airframes
Benevolens Magister
Shame about the Dachsund, but the new pup looks cute. Good work on the model too.
fubar57
General
I like Henry. Model too
- Thread starter
- #134
dneid
Staff Sergeant
Hey, all,
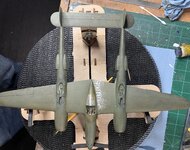
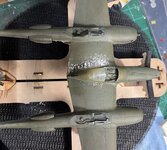
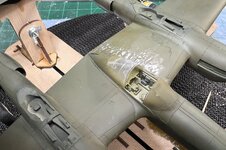
Life has been busy. I am lagging in my progress on the P-38 especially given the due date of 5 Mar. I started on the chipping around the cockpit and the leading edges. I use liquid frisket and a sponge to apply it over the silver. For the cockpit area it has been slow and patient to get the chipping I have done to this point. I cannot find any decent pics of the subject regarding chipping so I am taking a bit of artistic license there. I have her sealed up with Pledge and letting the last coat dry. Next will be decals, then the "dirtier her up with sand washes" and panel lining. Then all the damned fiddly bits to finish the kit up.
Thanks for stopping by, guys.
Attachments
SaparotRob
Unter Gemeine Geschwader Murmeltier XIII
Is there a separate "damned fiddly bits sprue" or are they molded in with the more substantial parts to make them easier to break?
- Thread starter
- #137
dneid
Staff Sergeant
They seem to be scattered across a few sprues. I use a set of not cheap sprue cutters for those small bits and I rarely break any small parts as long as I am paying attention to what I am doing.Is there a separate "damned fiddly bits sprue" or are they molded in with the more substantial parts to make them easier to break?
Donivanp
Lieutenant Colonel
Nice Dale, looking GGGOOOOODFD
Vic Balshaw
Major General
Looking good Dale. 
Airframes
Benevolens Magister
It's certainly looking the biz so far - nice work.
Users who are viewing this thread
Total: 1 (members: 0, guests: 1)

