Navigation
Install the app
How to install the app on iOS
Follow along with the video below to see how to install our site as a web app on your home screen.
Note: This feature may not be available in some browsers.
More options
You are using an out of date browser. It may not display this or other websites correctly.
You should upgrade or use an alternative browser.
You should upgrade or use an alternative browser.
Hasegawa 1/32 FW190A-8
- Thread starter Vaughan
- Start date
Ad: This forum contains affiliate links to products on Amazon and eBay. More information in Terms and rules
More options
Who Replied?- Thread starter
- #122
Thanks Guys
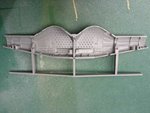
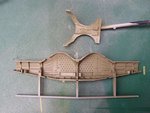
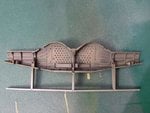
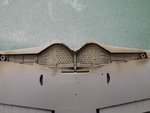
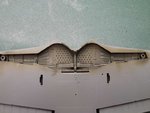
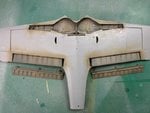
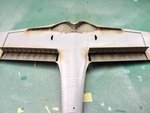
Another small update as I don't seem to be finding much time to do any modelling at the moment my youngest daughters wedding day is fast approaching. So here's where I'm up to, wheel wells are constructed and attached to the lower wings they have been sprayed with RLM 02 weathering and a wash added. Upper wings are also attached. The instructions say to fit the upper wings last after the lower are attached to the fuselage but I'm finding it easier doing it my way as I can see there are going to be some minor fit issues at the wing roots/engine cowling. Next up is closing the fuselage.
Another small update as I don't seem to be finding much time to do any modelling at the moment my youngest daughters wedding day is fast approaching. So here's where I'm up to, wheel wells are constructed and attached to the lower wings they have been sprayed with RLM 02 weathering and a wash added. Upper wings are also attached. The instructions say to fit the upper wings last after the lower are attached to the fuselage but I'm finding it easier doing it my way as I can see there are going to be some minor fit issues at the wing roots/engine cowling. Next up is closing the fuselage.
Attachments
Last edited:
Airframes
Benevolens Magister
Looking good Vaughan.
Nice work so far!
Crimea_River
Marshal
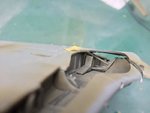
Lovely paint work Vaughan. As you went all out on your exhausts, you may wish to consider doing something similar with the spent casing chutes.
N4521U
Plastic Pirate
Another beau-dy Vaughn
- Thread starter
- #127
Lovely paint work Vaughan. As you went all out on your exhausts, you may wish to consider doing something similar with the spent casing chutes.
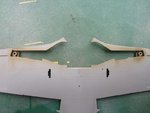
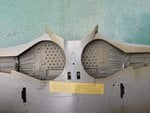
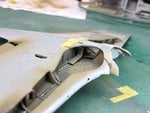
Yes I had thought of this but there a few issues regarding the alinement of the existing chute and their ports. I have cut the ports out but as you can see from the photos they don't line up. I'm inclined to leave it as it is, unless someones got any ideas on how to modify it? In hindsight I should have done all the modifications before I put the parts together. I have managed to spray the control flaps with RLM02 and then post shaded with RLM02 and a drop of RLM66.
Attachments
Last edited:
tigerdriver
Staff Sergeant
love the shading on the flaps Vaughan , do you give airbrush lessons lol
Crimea_River
Marshal
Looks great...and I see what happened with the chutes. The only thing I could suggest is cut the rest of the chute off and make new ones with thin plastic card. Shove them through the holes in the wing, line them up to the ammo boxes, glue, then cut them off. You'll need to decide if it's worth the effort.
Nice work Vaughan...
Good work so far!
Hotntot
Senior Airman
Great so far. 
vikingBerserker
Lieutenant General
Very nice!
Catch22
Major
Looks great Vaughan! I don't think the flaps are supposed to be as vertical as the tabs provided force them to be though.
N4521U
Plastic Pirate
Cory, nothing I like more than hunting down a mystery......
Landeklappenausschläge......
page 31 of this manual Micdrow has posted, fw-190.pdf, shows a landing flap setting of 58 bl00dy degrees if you can believe that!
You'd think this thing would stop and fall out of the air at this angle....... like dive brakes!
So they were in fact pretty vertical at landing, maximum of course.
- Thread starter
- #138
Cory I was thinking along the same lines they looked like they were at a crazy angle and was working on a way of adjusting them.Looks great Vaughan! I don't think the flaps are supposed to be as vertical as the tabs provided force them to be though.
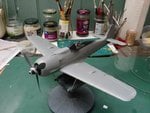
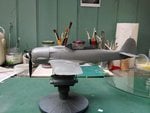
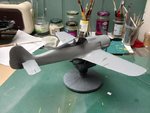
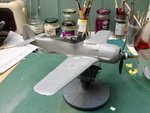
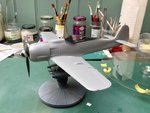
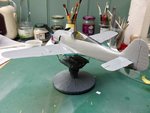
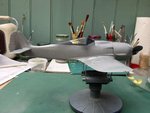
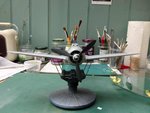
Bill I'm glad you found that info at least is shows Hasegawa had got their facts correct. There is some progress with the build. Fuselage is together, the wings are on, horizontal stabilisers attached and the engine cowlings are in place a little work has been required around the wing roots/engine cowlings but all is looking good.
Attachments
Last edited:
N4521U
Plastic Pirate
I was thinking the same thing when Cory brought it up..... and like I said they look like dive brakes.....
But at least the stress of Not knowing is outta there....
Nice work.
But at least the stress of Not knowing is outta there....
Nice work.
Catch22
Major
Looks great Vaughan.
Thanks for the info Bill, I know a lot of reviews of the kit had said that was one of the only things wrong with it, so that's what I was going by. But if there's better sources than model reviews on the internet (which aren't up there for the best sources!), then I'll gladly defer to those. Certainly no expert.
Thanks for the info Bill, I know a lot of reviews of the kit had said that was one of the only things wrong with it, so that's what I was going by. But if there's better sources than model reviews on the internet (which aren't up there for the best sources!), then I'll gladly defer to those. Certainly no expert.
Users who are viewing this thread
Total: 1 (members: 0, guests: 1)

