Vic Balshaw
Major General
That's a smart looking boat. 
Follow along with the video below to see how to install our site as a web app on your home screen.
Note: This feature may not be available in some browsers.
Ad: This forum contains affiliate links to products on Amazon and eBay. More information in Terms and rules
Thanks Vic about done with the weathering doing rafts and rigging and Wha-la.That's a smart looking boat.
Thanks Andy just about finished.Nice Kevin.
Revell do a 1/72 pack which is specifically for U-Boat and S-Boat models. 51 figures in 15 poses (not combat though).It's a love/hate thing at this point over two months on one kit for me I start losing interest and this one is testing me.I have to say Vic doing the weathering was quite relaxing and artistic to a point if catch the drift.I have been looking for some 1/72 Kriegsmarine guys but only find Submariners they could probably work but the hats seem different?I have attached and repaired the crooked stanchion and installed the rest for this side will line the wire tomorrow it's 10G guitar measures .010".I am thinking the wire is just to bright and need to paint or tone it down some way?
EXACTLY!!...and use the damn gun turret on top already!
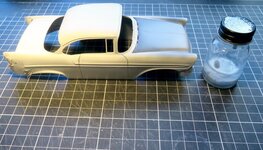
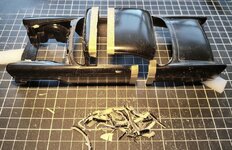
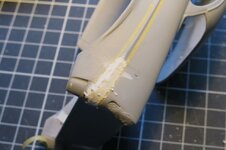
See the little paint bottle, first pic, it's about a tablespoon of Acetone, with a lot of sprue pieces innit. Sit over it, BAM. Filler!Acetone sprue trick. I think I can figure out what that is. Clever.
The Tri Fives rock! Keep us posted please!So, being bored waiting for decals.................
I was looking at my Fitty6 on the shelf, all but finished!
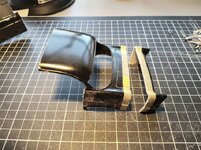
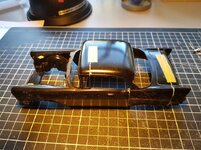
A while back I watched a YouTube video on chopping a car.
Light bulb moment. So the last few days, I've done this!!!!!
View attachment 715439View attachment 715440View attachment 715441
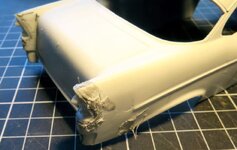
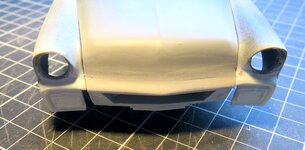
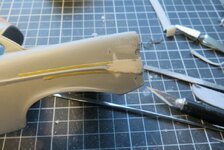
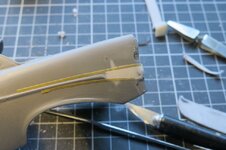
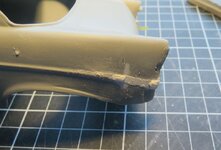
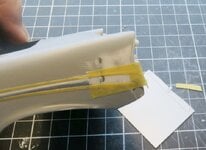
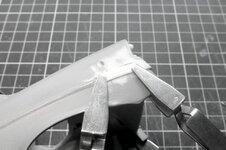
Fillers, for Sculpting!!! Milliput, it just scrapes and Shit. It's okay if you can get it within Micro mm of finished, but impossible to sculpt. That Real Plastic stuff? It just flakes all over, never Really dries, my experience. Then when you spray lacquor primer onnit, it just looks ruff, soaks up like a sponge. So I tried the Acetone Sprue trick. No it is a bit fiddly to apply but does the trick filling gaps and can be filed and sanded! The Hood, Bonnet, is the real plastic under the Mr Surfacer and needs some Real work to get it smooth. I stripped the kit chrome with a bleach bath, Wow, worked a treat! Most will be body paint color. SMS Super Chrome for them bits. I took 10mm out of the back, behind the door and top. 13mm at the trunk, Boot!
View attachment 715443View attachment 715444View attachment 715445
Kinda like this...........!
 I should of used white primer not grey while it felt smooth I wonder it it contributed to the grain like texture in those two spots.I like it still and will be a colorful addition to the cabinet.