B-17engineer
Colonel
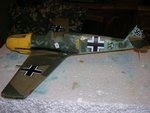
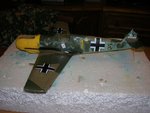
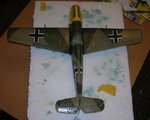
Looks fantastic !
Follow along with the video below to see how to install our site as a web app on your home screen.
Note: This feature may not be available in some browsers.
Ad: This forum contains affiliate links to products on Amazon and eBay. More information in Terms and rules

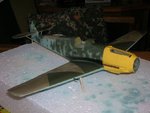
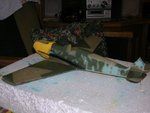
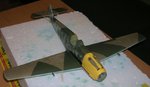
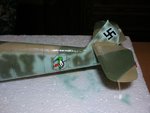
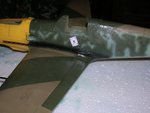
") Yep..the compressor failure influenced the final work on the model. But I didn't have an choice.
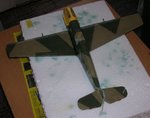
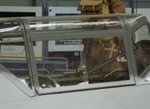
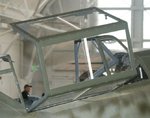
Yep..the compressor failure influenced the final work on the model. But I didn't have an choice.I have another question on the side window. I understand that they came in two parts and the front one slid back some but wouldn't there be some sort of felt stuck there between the windows to act as insulation and to prevent the front widow from scratching the other window as it slid back? It would appear that there is in the photographs and that it is white in color. There seems to also be another line of white toward the back where the other end of the window would sit if it was fully pushed back. Is that right?
At last ...right?
...this has been an enjoyable build to watch right from the start...!Noooo...
Thank you Glenn. There's also a book that I have that has step by step instuction on how to improve the kit to add more realism.
Hmm, maybe I'll take this out of mothballs for the BoB build. Scratching whiskery chin....