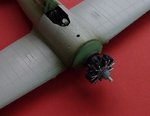
This should provide some fun viewing....
Follow along with the video below to see how to install our site as a web app on your home screen.
Note: This feature may not be available in some browsers.
Ad: This forum contains affiliate links to products on Amazon and eBay. More information in Terms and rules

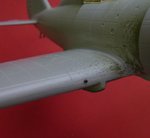
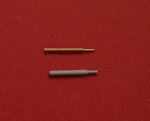
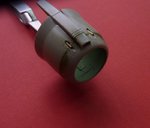
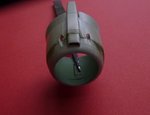
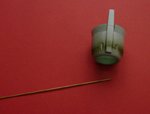
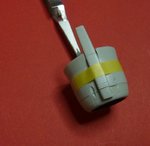
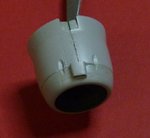
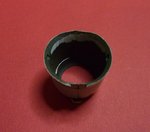
Good stuff Peter. Hopefully mine will come together a good as yours did. I have to apologize about finding this too late. Quickboost does a correction set for the rear decking. I don't know if I'll add it as only me and Dawg see the end results.
View attachment 250785
Geo