Crimea_River
Marshal
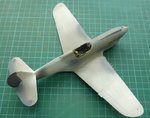
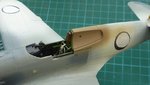
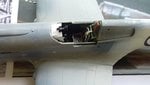
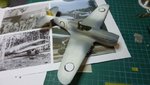
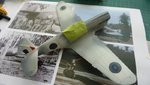
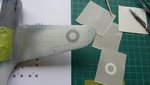
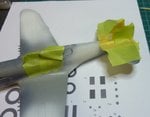
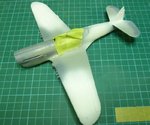
That's looking quite nice Peter. Gotta check my details on that conopy frame for my Kittyhawk III now.
Follow along with the video below to see how to install our site as a web app on your home screen.
Note: This feature may not be available in some browsers.
Ad: This forum contains affiliate links to products on Amazon and eBay. More information in Terms and rules
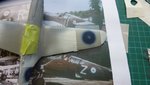
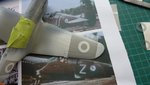
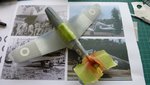
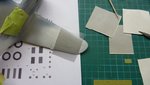
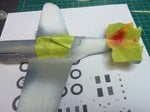

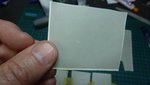
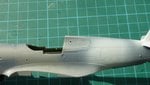
Great stuff Peter. Is 'Magic mask' similar to Frisk film (Frisket) ?